How to use Guides in FastReport VCL 6
Each report designer encounters a situation where it is necessary to arrange controls at the same level, or to stretch a group of elements at once. It is necessary to adjust each member to each other. It takes time, and sometimes nerves. In previous FR VCL versions we were offered a grid that facilitated the positioning of objects, as well as lines that help to expose the object in parallel to others.
In Fast Report VCL 6, there is another tool for positioning objects - Guide line. It allows you to add to the grid arbitrary vertical and horizontal lines, which help to align objects in parallel. But their main feature is that the objects are attached to the boundaries of lines. By moving the attached lines, you can scale or move objects. Thus, to stretch a whole group of objects, we need to move just one line.
These guide lines are visible only in the report designer. They can be added, deleted, moved and hidden.
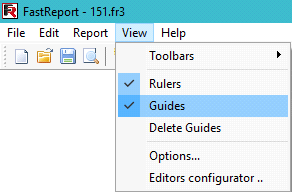
To enable Guides (guides) we open the View menu and enable the corresponding option. Mandatory condition is the enabled ruler (Rules):
How to move a line
To move the line, point the mouse at it, hold down the left mouse button and move in the required direction. Then, release the mouse button to stop moving the line.
How to add a line
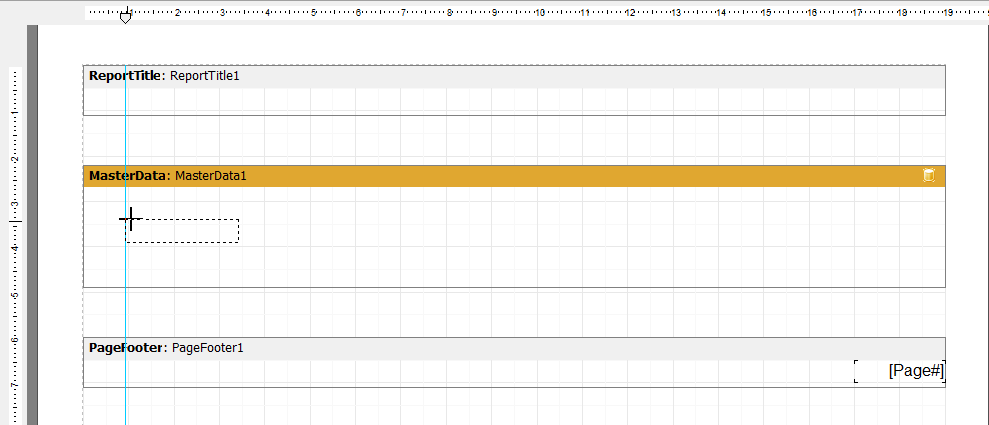
1) Double click on the ruler. To add a vertical line, double-click on the upper ruler, to add a horizontal line, double click on the side ruler.
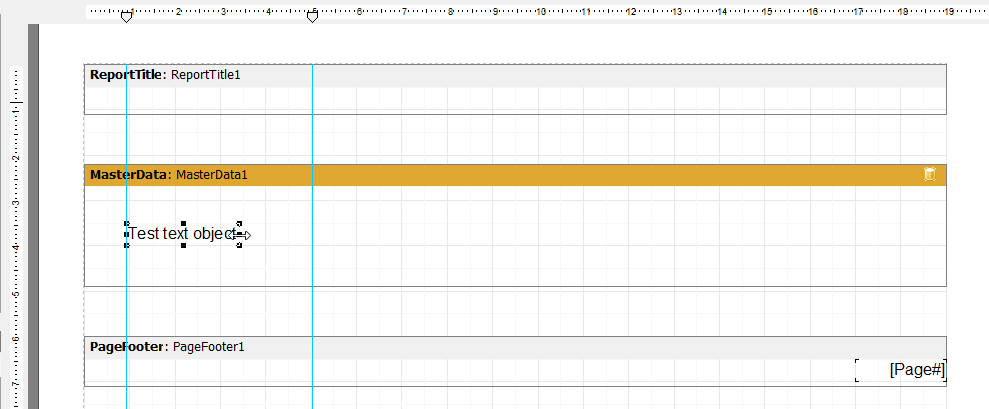
2) Dragging. To add a vertical line, hold down the left mouse button on the left ruler and drag it to the report page:
To add a horizontal line perform the similar actions, but we press the mouse button on the top line.
How to remove a line
1) Point the mouse at the pointer ![]() on the ruler and right click on it;
on the ruler and right click on it;
2) You can drag the line beyond the page of the report and it will be deleted. Only if an object is attached to the line, it will move along with the line to the edge of the report page. So it is better to use the first method.
How to attach a line to an object
Place the object on the line. Put the object with the left border on the line. The left line attached to the object. Now, moving this line, we can move the object.
2) Move the line to the boundary of the object or stretch the object up to the line.
To attach the second line to the right boundary of the object, we can go in two ways:
- stretch the object so that its right border coincides with the line;
- Move the line so that it hits the right border of the object.
In both cases, the line "sticks" to the boundary of the object.

Now, holding the line, we drag it, thereby changing the width of the object.

Add a horizontal line and place it on the upper border of the object. Sometimes it's not easy to do this. The line stubbornly does not want to get to the side of the object. Then you need to zoom in the page. Also, for more accurate operation of guide lines, you need to include the option of aligning objects on the grid (Align to grid).
How to detach a line from an object
1) To detach a line from an object or objects, you must point your mouse at the line, hold down the Ctrl key and make a left click.
2) To reattach the line, move it to the same boundary of the object to which it was attached earlier. Again, hold down Ctrl and make a left click.
You can attach a line directly to a group of objects. In this case, you can move and scale the whole group at once. The new Guides tool has made formatting reports even more convenient.