How to use Online Designer with FR.Core in a single-page Vue.js application
In that article, we will look at the way to display the online report designer in an application written in the Vue.Js framework in conjunction with ASP .Net Core.
To create an application in such a bundle, we need to install Microsoft Visual Studio 2017, or the .Net Core 2.0 SDK, as well as the Node.Js software package.
1. Create an application Vue.js. To do this, run the windows command prompt. Check if you have a template installed to create this type of application. To do this, run the command:
dotnet new - install Microsoft.AspNetCore.SpaTemplates :: *
As a result, we will see the following list:
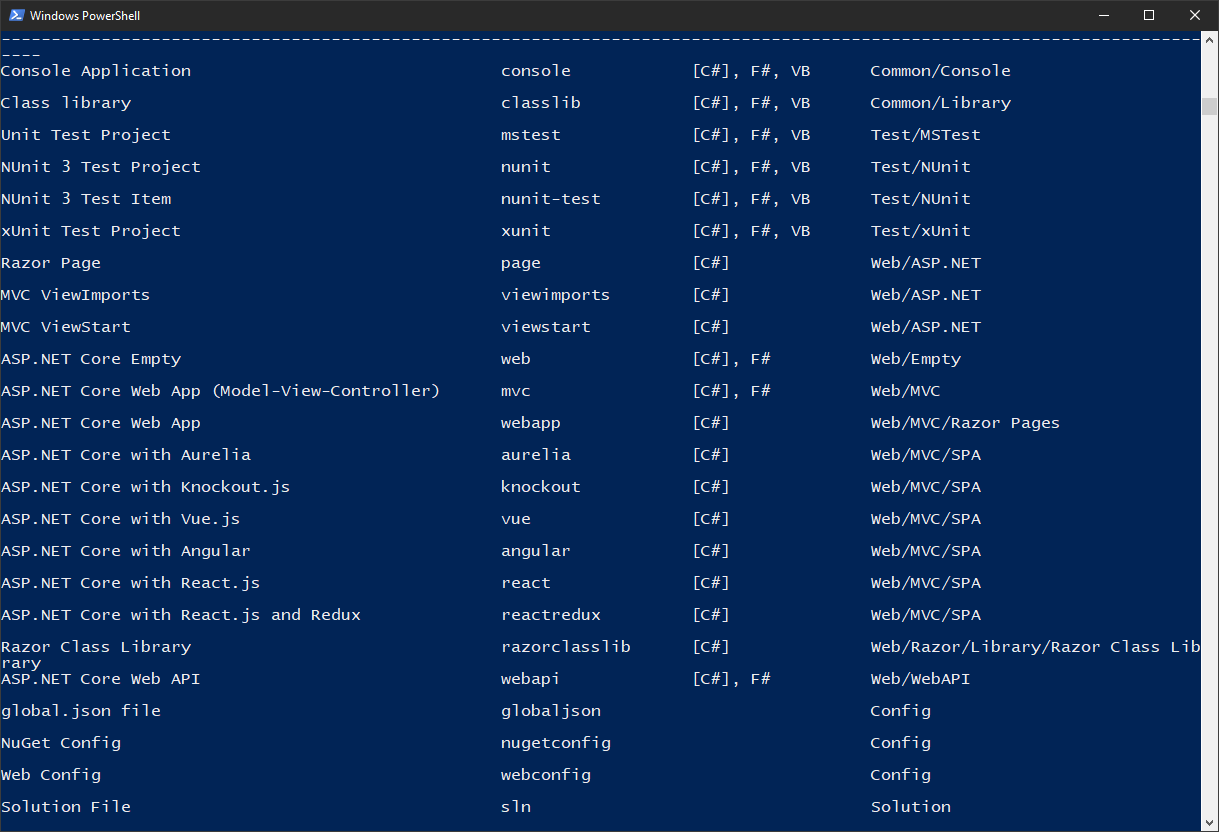
Now we move to the folder in which you want to create an application using the cd command. And create the application with the command:
dotnet new vue -o FRCoreVueOnlineDesigner
This command will generate us a ready demo application with whole necessary structure of files and folders.
After that, go to the FRCoreVueOnlineDesigner folder with cd and execute the command:
npm install.
2. Open the created project in VisualStudio. Before you begin, first install the necessary NuGet packages. In the package manager, select the local storage - C: \ Program Files (x86) \ FastReports \ FastReport.Net \ Nugets. We install two packages from this repository: FastReport.Core and FastReport.Web.

Next, we enable the FastReport libraries in the configurator. Editing the Startup.cs file. Add the following to the Configure method:
app.UseFastReport ();
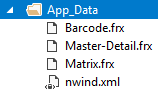
In the wwwroot folder, create an App_Data directory and add report templates and xml database to it.
Also, in wwwroot we have to put a folder with an online designer. At this point, you should download it from the developer’s site. Please note that when configuring an online designer before building it, you should select in the Configuration section the value for the URLs API - FastReport.Core for Web. After downloading the archive with the designer, extract the contents to the wwwroot folder.
3. Programming the controller. The application already has two controllers - HomeController and SampleDataController. Let's use the second one and add our own methods to it:
1 2 3 4 5 6 7 8 9 10 11 12 13 14 15 16 17 18 19 20 21 22 23 24 25 26 27 28 29 30 31 32 33 34 35 36 37 38 39 40 41 42 43 44 45 46 47 48 49 50 51 52 53 54 |
using System; using System.Collections.Generic; using System.Linq; using Microsoft.AspNetCore.Mvc; using FastReport.Web; using Microsoft.AspNetCore.Hosting; using System.IO; namespace FRCoreVueOnlineDesigner.Controllers { [Route("api/[controller]")] public class SampleDataController : Controller { private IHostingEnvironment _env; public SampleDataController(IHostingEnvironment env) { _env = env; } [HttpGet("[action]")] public IActionResult Design(string name) { var webRoot = _env.WebRootPath; WebReport WebReport = new WebReport(); WebReport.Width = "1000"; WebReport.Height = "1000"; if (name != "Blank") WebReport.Report.Load(System.IO.Path.Combine(webRoot, (String.Format("App_Data/{0}.frx", name)))); // Load the report into the WebReport object System.Data.DataSet dataSet = new System.Data.DataSet(); // Create a data source dataSet.ReadXml(System.IO.Path.Combine(webRoot, "App_Data/nwind.xml")); // Open the xml database WebReport.Report.RegisterData(dataSet, "NorthWind"); // Registering the data source in the report WebReport.Mode = WebReportMode.Designer; // Set the web report object mode - designer display WebReport.DesignerLocale = "en"; WebReport.DesignerPath = @"WebReportDesigner/index.html"; // We set the URL of the online designer WebReport.DesignerSaveCallBack = @"api/SampleData/SaveDesignedReport"; // Set the view URL for the report save method WebReport.Debug = true; ViewBag.WebReport = WebReport; // pass the report to View return View(); } [HttpPost("[action]")] // call-back for save the designed report public IActionResult SaveDesignedReport(string reportID, string reportUUID) { var webRoot = _env.WebRootPath; ViewBag.Message = String.Format("Confirmed {0} {1}", reportID, reportUUID); // We set the message for representation Stream reportForSave = Request.Body; // Write the result of the Post request to the stream. string pathToSave = System.IO.Path.Combine(webRoot, @"App_Data/TestReport.frx"); // get the path to save the file using (FileStream file = new FileStream(pathToSave, FileMode.Create)) // Create a file stream { reportForSave.CopyTo(file); // Save the result of the query to a file } return View(); } } |
The Designer method is designed to display an online designer. And the SaveDesignedReport method saves the modified report on the server.
4. Submissions. For each of the two methods added, it is necessary to create views of the same name:

Add the following code to the Design.cshtml file:
@await ViewBag.WebReport.Render()
Add the code to the SaveDesignedReport.cshtml file:
@ViewBag.Message
5. Client programming. The ClientApp-> components folder contains components - the “pages” of our one-page application. Create your own component. Add a designer folder. Create an online_designer.vue.html file in it - page template:
1 2 3 4 5 6 7 8 9 10 11 12 13 14 15 |
<template> <div> <input type="radio" :id="reportChoice1" name="report" value="Matrix" v-on:click="SetReportName('Matrix')"> <label :for="reportChoice1">Matrix</label> <input type="radio" :id="reportChoice2" name="report" value="Matrix" v-on:click="SetReportName('Master-Detail')"> <label :for="reportChoice2">Master-Detail</label> <input type="radio" :id="reportChoice2" name="report" value="Matrix" v-on:click="SetReportName('Barcode')"> <label :for="reportChoice2">Barcode</label> <button v-on:click="Clicked">Design</button> <div v-html="designer"></div> </div> </template> <script src="./online_designer.ts"></script> |
There are three radio buttons in the template that define the name of the report. Another button launches the Clicked function, which should request the report designer from the server. Further, the code displays the contents of the variable designer. This variable will contain the result of a get request from the designer. At the bottom, we declared a script to process this template. It will be located in a separate file online_designer.ts:
1 2 3 4 5 6 7 8 9 10 11 12 13 14 15 16 17 18 19 20 21 22 |
import Vue from 'vue'; import { Component } from 'vue-property-decorator'; @Component export default class DesignerComponent extends Vue { designer: string = ''; report: string = ''; Clicked() { if (this.report != '') { fetch('api/SampleData/Design?name=' + this.report) .then(response => response.text()) .then(data => { this.designer = data; }); } } SetReportName(text: string) { this.report = text; } } |
The Clicked function performs a get request for the web method in the SampleData controller. The web method returns a representation in html format, which we write to the variable designer. The SetReportName function sets the variable to report - the name of the report. This variable is passed in the get request from the designer as a parameter.
Since the application is automatically generated here, there are demo pages. Let's remove them from the menu navmenu.vue.html:
1 2 3 4 5 6 7 8 9 10 11 12 13 14 15 16 17 18 |
<template> <div class="main-nav"> <div class="navbar navbar-inverse"> <div class="navbar-header"> <button type="button" class="navbar-toggle" data-toggle="collapse" data-target=".navbar-collapse"> <span class="sr-only">Toggle navigation</span> <span class="icon-bar"></span> <span class="icon-bar"></span> <span class="icon-bar"></span> </button> <a class="navbar-brand" href="/">FRCoreVueOnlineDesigner</a> </div> <div class="clearfix"></div> </div> </div> </template> <style src="./navmenu.css" /> |
And now we add our component to boot.ts:
1 2 3 4 5 6 7 8 9 10 11 12 13 14 15 |
import './css/site.css'; import 'bootstrap'; import Vue from 'vue'; import VueRouter from 'vue-router'; Vue.use(VueRouter); const routes = [ { path: '/', component: require('./components/online_designer/online_designer.vue.html') } ]; new Vue({ el: '#app-root', router: new VueRouter({ mode: 'history', routes: routes }), render: h => h(require('./components/app/app.vue.html')) }); |
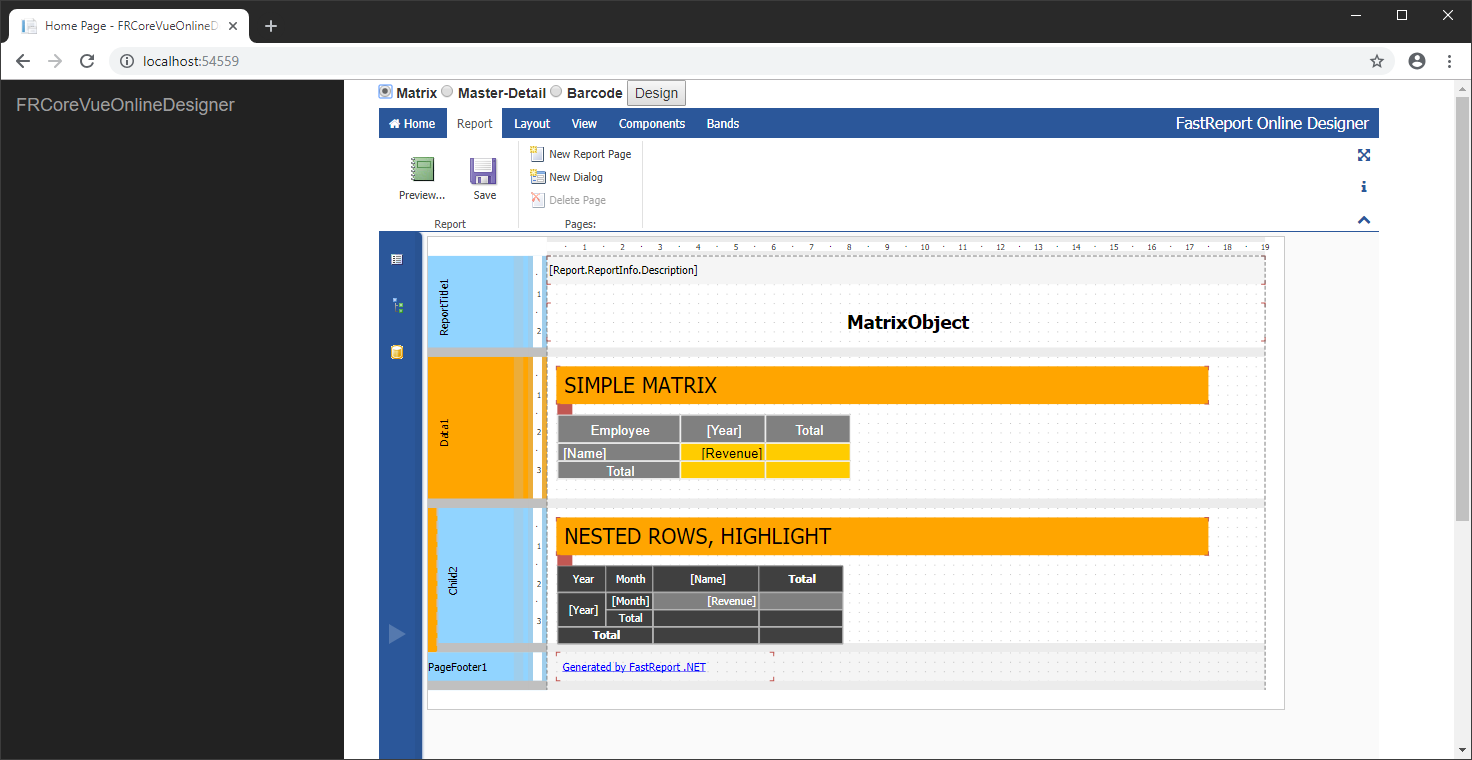
We added a link to the component we created. It will be displayed immediately when the web application is launched, that is, it will be the home page. Run our application. Select a report using the radio button and press the Design button:
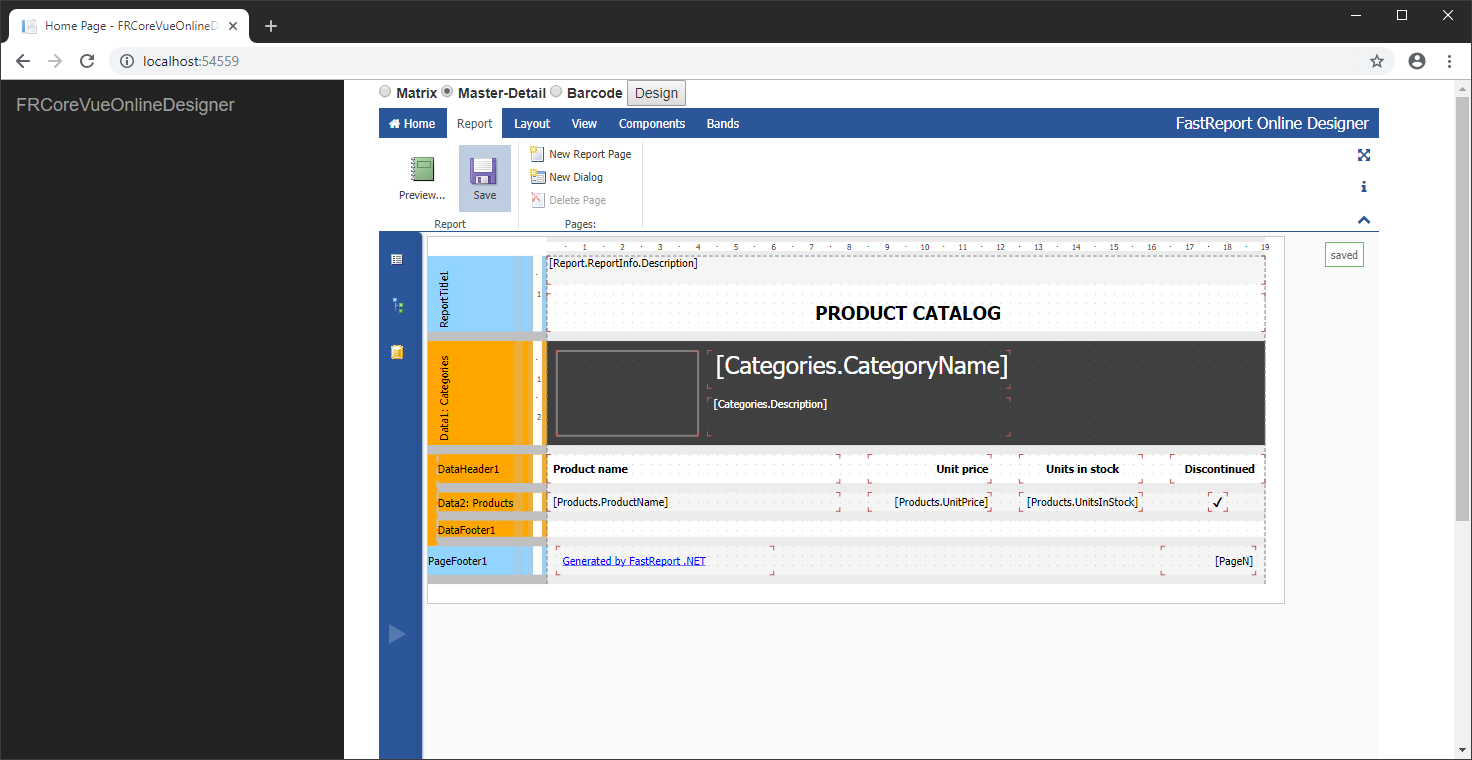
Open another report, go to the Report tab and click the Save button:
Thus, we learned how to display an online designer in a one-page application written with the help of the Vue.js framework.