Einrichten des Online-Designers in einer React .NET Core-App
Many FastReport.Core users are interested in how the report generator will work in a web application written by using the React library. We have already reviewed this in the article "How to use FR Core Web Report with React.docx". In this article we will look at the way to use an online designer. Despite the fact that it is displayed in the same web object as a regular report, the difference with the display in React is significant. But first things first.
If you have never created an application on React with a backend on .Net Core, then you need:
1) Install NodeJS. This is a software package that allows you to perform JavaScript code on the server side, as well as install various JavaScript libraries.
2) Install Microsoft Visual Studio 2017 or another IDE + .Net Core SDK 2.0.
To create the application, open the Windows command prompt in the folder where the project will be located and execute the command:
dotnet new react –o ReactFRCoreDesigner
Open the created project. Let's just add FastReport libraries to the NuGet packages manager. Configure the local package source for the folder:
C:\Program Files (x86)\FastReports\FastReport.Net\Nugets
Install the FastReport.Core package.
Locate the Startup.cs file in the project and add one line of code to the Configure () method:
1 |
app.UseFastReport();
|
Now we can use the report generator in our project.
In addition to displaying the online designer, we also look at the way to transfer the name of the desired report and upload it to the online designer. Therefore, we will add the App_Data folder to the project. And in it we will add report templates from the Demos \ Reports folder in the FR.Net installation directory.
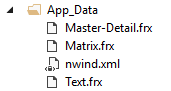
As you can see, we also added an xml file from the same folder. This is a database for reports.
Find the Controllers folder. A SampleDataController controller is available to us. Add two methods to it:
1 2 3 4 5 6 7 8 9 10 11 12 13 14 15 16 17 18 19 20 21 22 23 24 25 26 27 28 29 30 31 32 33 34 35 36 37 38 |
… using FastReport.Web; using System.IO; … [HttpGet("[action]")] public IActionResult Design(string name) { WebReport WebReport = new WebReport(); WebReport.Width = "1000"; WebReport.Height = "1000"; if (name != "Blank") WebReport.Report.Load("App_Data/" + name + ".frx"); // Load the report into the WebReport object System.Data.DataSet dataSet = new System.Data.DataSet(); // Create a data source dataSet.ReadXml("App_Data/nwind.xml"); // Open the database xml WebReport.Report.RegisterData(dataSet, "NorthWind"); // Registering the data source in the report WebReport.Mode = WebReportMode.Designer; // Set the web report object mode - designer display WebReport.DesignerLocale = "en"; WebReport.DesignerPath = @"WebReportDesigner/index.html"; // We set the URL of the online designer WebReport.DesignerSaveCallBack = @"api/SampleData/SaveDesignedReport"; // Set the view URL for the report save method WebReport.Debug = true; ViewBag.WebReport = WebReport; // pass the report to View return View(); } [HttpPost("[action]")] // call-back for save the designed report public IActionResult SaveDesignedReport(string reportID, string reportUUID) { ViewBag.Message = String.Format("Confirmed {0} {1}", reportID, reportUUID); // Set the message for representation Stream reportForSave = Request.Body; // Write the result of the Post request to the stream. string pathToSave = @"App_Data/TestReport.frx"; // get the path to save the file using (FileStream file = new FileStream(pathToSave, FileMode.Create)) // Create a file stream { reportForSave.CopyTo(file); // Save query result to file } return View(); } |
The first method creates a web report object, sets a template and data source for it, and also sets the report editing mode, report designer settings. As a result, the method will return the view where the web report object will be displayed. The method has a parameter - the name of the report, which we substitute when loading the report template into the web object of the report.
The second method is a call back handler for clicking the report save button. It saves the edited report in the App_Data folder.
For these two methods, you must create two views. Create a Views folder in the project root. Now back to the controller. Right click on the design method signature and select Add view from the menu. Set the view name - Design. Replace the entire contents of the created view with the code:
1 |
@await ViewBag.WebReport.Render()
|
For the SaveDesignedReport method, we also create a view with the same name. Its contents are replaced by:
1 |
@ViewBag.Message
|
We turn to the most interesting - the frontend. React application is located in the ClientApp folder. Expand it in the tree in the solution browser. Further we open the src and components directory. Add a new component to this folder. Create a javascript file named Designer:
1 2 3 4 5 6 7 8 9 10 11 12 13 14 15 16 17 18 19 20 21 22 23 24 25 26 27 28 29 30 31 32 33 34 35 36 37 38 39 40 41 42 43 44 45 46 47 48 |
import React, { PureComponent, Fragment } from 'react'; import { WebReport } from './WebReport'; export class Designer extends PureComponent { constructor(props) { super(props); this.state = { options: [ { value: 'Select report name …', }, { value: 'Matrix', }, { value: 'Master-Detail', }, { value: 'Text', }, ] }; } handleChange = (event) => { this.setState({ name: event.target.value }); }; render() { const { options, value } = this.state; return ( <div> <div> <Fragment> <select onChange={this.handleChange} value={value}> {options.map(item => ( <option key={item.value} value={item.value}> {item.value} </option> ))} </select> </Fragment> </div> <WebReport name={this.state.name} /> </div> ); } } |
Probably, you paid attention to the import of the WebReport component, we will observe it later.
First of all, add states to the class constructor. In our case, it is an array with the names of the reports. Next, consider render () straight away - the method that builds the web page. Rendering is performed every time the state changes. For example, when we select a list item, the onChanges event handler is executed. This method sets the new state of the name variable using the setState function. After that the contents of the render will be rebuilt.
Notice the <WebReport name = {this.state.name} /> tag.
Here another component is called. As a parameter, it receives the selected report name.
Consider the WebReport component, which also, like Designer.js should be created in the components directory:
1 2 3 4 5 6 7 8 9 10 11 12 13 14 15 16 17 18 19 20 |
import React, { Component } from 'react'; export class WebReport extends Component { constructor(props) { super(props); this.state = { designer: "" }; } componentWillReceiveProps(nextProps) { fetch('api/SampleData/Design?name=' + nextProps.name + '').then(response => response.text()).then(text => { this.setState({ designer: text }); }); }; render() { return ( <div dangerouslySetInnerHTML={{ __html: this.state.designer }} /> ); } } |
The whole point of this component is to execute a ‘get’ request to the backend and return the resulting html code.
The built- in function componentWillReceiveProps (nextProps) is executed each time the props property changes. That is, when this component will receive a new value when called. We get the report name from the property and substitute it in the url of the request. We get the answer in text format. It needs to be converted to secure html code in order to be inserted into the DOM. The attribute dangerouslySetInnerHTML will help us with this.
It remains only to add the Designer component to the menu. Add to NavMenu file:
1 2 3 4 5 6 7 8 9 10 |
<Navbar.Collapse> <Nav> … <LinkContainer to={'/designer'}> <NavItem> Designer </NavItem> </LinkContainer> </Nav> </Navbar.Collapse> |
And to the App.js file add this:
1 2 3 4 5 6 7 8 |
… import { Designer } from './components/Designer'; … <Layout> … <Route path='/designer' component={Designer} /> </Layout> … |
That's all. Run the application. On the Designer page, we will see a drop-down list:
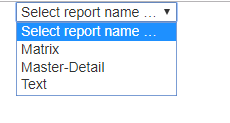
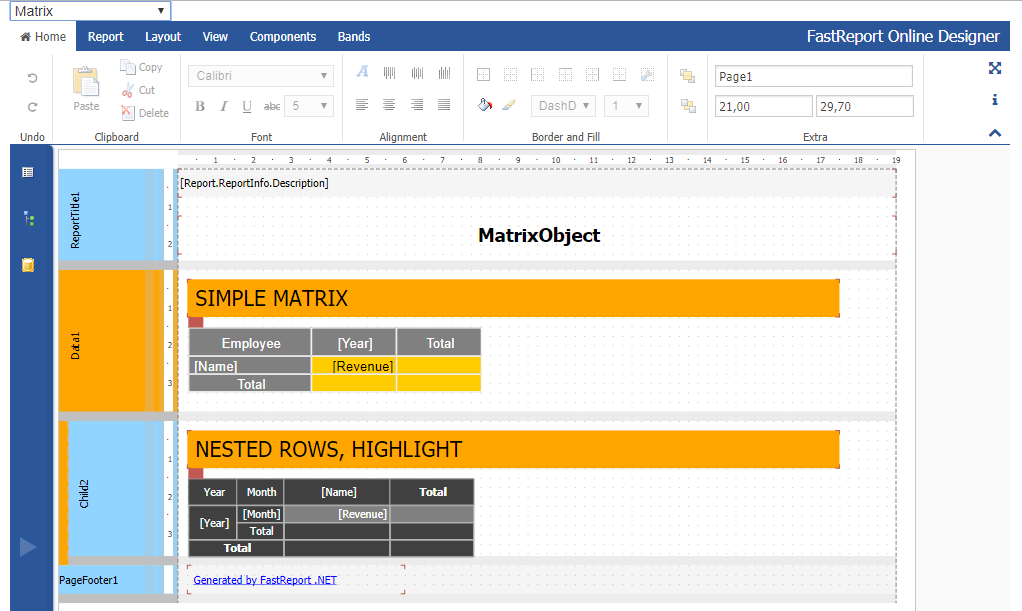
Select the name of the Matrix report:
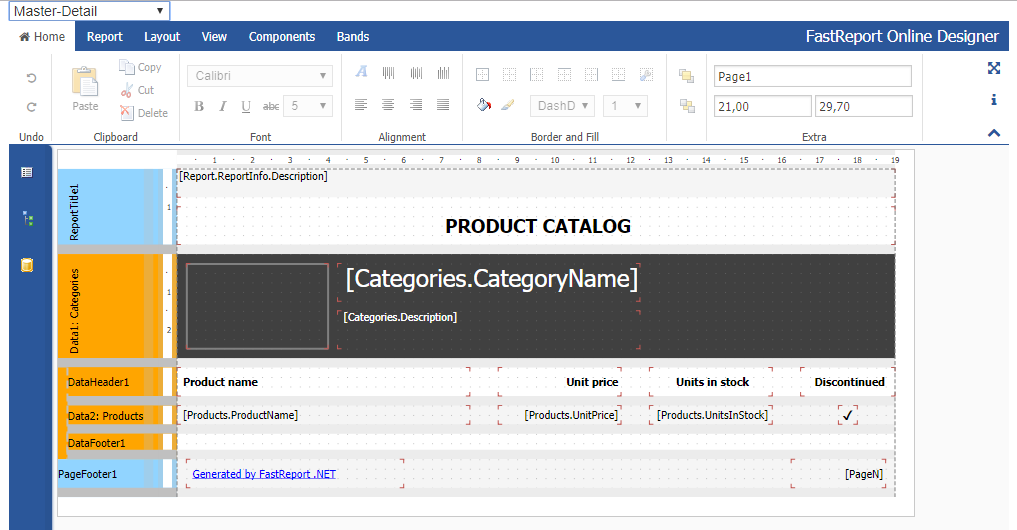
And now - Master-Detail:
Go to the Report tab and click the Save button:
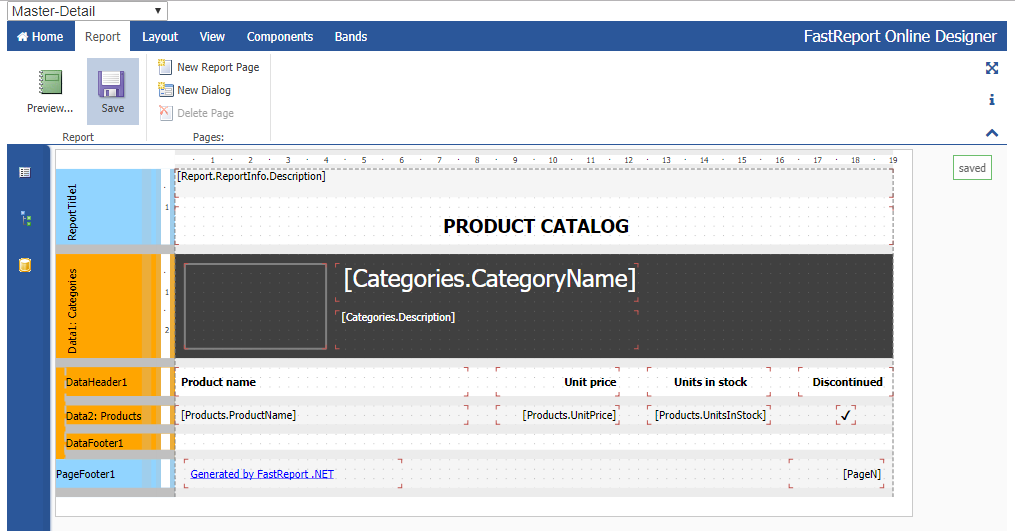
The message “saved” appeared on the right, which tells us about the successful saving of the report on the server. Check it out:
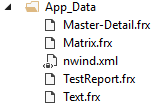
Another file appeared in the App_Data folder - TestReport.frx.
This completes the creation of our demo application. We successfully displayed the report designer, loaded the necessary report into it and saved it.