Report export in FastReport.OpenSource
FastReport.OpenSource has gained a lot of interest among many developers. This is a great report generator with a long history. The open source version is FastReport.Core, which appeared at the beginning of 2018, but with some restrictions. Namely - curtailed exports. Thus, only the following formats are available to us:
HTML, BMP, PNG, JPEG, GIF, TIFF, EMF.
Of course, this is very little. The WebReport object displays the report in html format, so it was left.
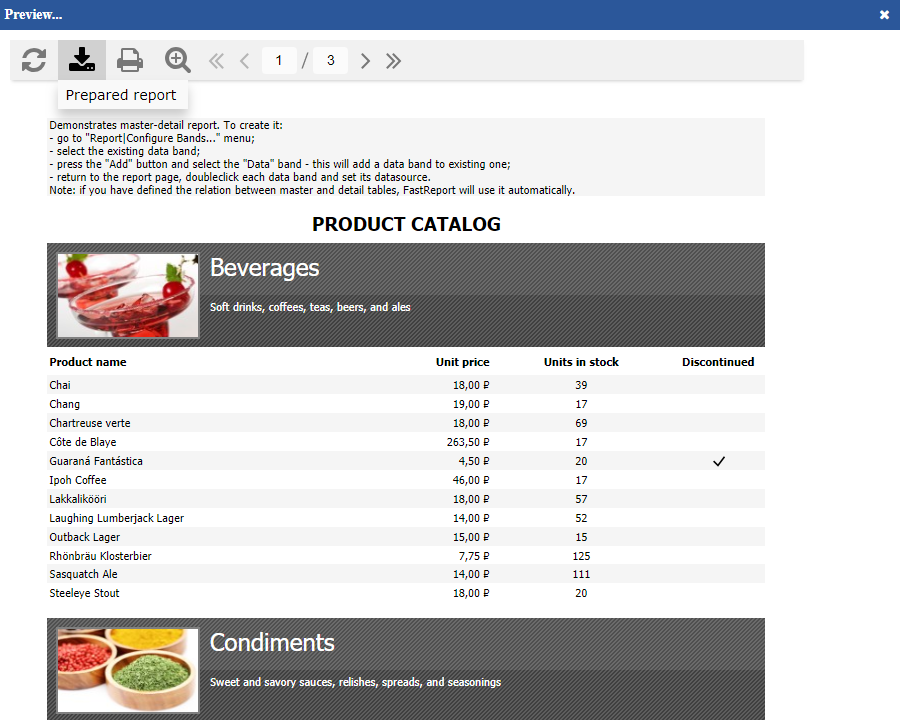
It is noteworthy that in the WebReport object, we can only save the report to the fpx preview format.

Therefore, you will have to export the report from the application code. Let's have a look at how it will look like by example.
I will describe in details the whole process of creating a demo application so that you can repeat if you wish.
Create an ASP .Net Core 2.0 project. Next, we add packages from the NuGet repository: FastReport.OpenSource and FastReport.OpenSource.Web.
Now you need to add the use of the FastReport libraries to the Startup.cs file
Let's use the Index view. Change it like this:
1 2 3 4 5 6 7 8 |
@using (Html.BeginForm("Save", "Home", FormMethod.Get)) { <input id="save" type="submit" value="Save report in HTML" /> } <div> <img src ='@Url.Action("GetImage")'> </div> |
We will display the report in a picture format, as well as a link to download the report in HTML format.
Initially, we will have a download button that initiates the formation of the report file html. Then comes the image. But the file for it will be generated on the fly from the GetImage method in the controller.
Let's go to the HomeController.cs controller. We will need these libraries:
1 2 3 4 5 6 7 8 9 |
using System.IO; using System.Diagnostics; using Microsoft.AspNetCore.Mvc; using OpenSourceReportExport.Models; using FastReport; using FastReport.Export.Image; using FastReport.Export.Html; using System.Data; using Microsoft.AspNetCore.Hosting; |
To set the correct file paths on the server, we use the IHostingEnvironment interface. To do this, we pass the object of type IHostingEnvironment to the controller's constructor.
1 2 3 4 5 6 |
public HomeController(IHostingEnvironment hostingEnvironment) { _hostingEnvironment = hostingEnvironment; } private IHostingEnvironment _hostingEnvironment; |
Index method is left unchanged:
1 2 3 4 |
public IActionResult Index() { return View(); } |
Add a new method to get the report as an image. So we will export to image, for example, jpeg format:
1 2 3 4 5 6 7 8 9 10 11 12 13 14 15 16 17 18 19 20 21 22 23 24 25 26 27 28 29 |
public IActionResult GetImage() { // Creatint the Report object using (Report report = new Report()) { string path = _hostingEnvironment.WebRootPath; // Loading a report report.Load(path + "\\App_Data\\Master-Detail.frx"); DataSet data = new DataSet(); data.ReadXml(path + "\\App_Data\\nwind.xml"); //Open xml database report.RegisterData(data, "NorthWind"); //Register data source in the report report.Prepare();// Preparing a report // Creating the Image export using (ImageExport image = new ImageExport()) { image.ImageFormat = ImageExportFormat.Jpeg; image.JpegQuality = 100; // Set up the quality image.Resolution = 100; // Set up a resolution image.SeparateFiles = false; // We need all pages in one big single file using (MemoryStream st = new MemoryStream())// Using stream to save export { report.Export(image, st); return base.File(st.ToArray(), "image/jpeg"); } } } } |
The second method is to save the export report in html format. Roughly speaking,this methods is pretty much the same as the previous one.
1 2 3 4 5 6 7 8 9 10 11 12 13 14 15 16 17 18 19 20 21 22 23 24 |
[HttpGet] public ActionResult Save() { using (Report report = new Report()) { string path = _hostingEnvironment.WebRootPath; // Loading a report report.Load(path + "\\App_Data\\Master-Detail.frx"); DataSet data = new DataSet(); data.ReadXml(path + "\\App_Data\\nwind.xml"); //Open xml database report.RegisterData(data, "NorthWind"); //Register data source in the report report.Prepare();// Preparing a report // Creating the HTML export using (HTMLExport html = new HTMLExport()) { using (FileStream st = new FileStream(path + "\\App_Data\\test.html", FileMode.Create)) { report.Export(html, st); return File("App_Data/test.html", "application/octet-stream", "Test.html"); } } } } |
In this method we got one html file. And this means that there will be no pictures in it. To save the html file with images, you need to save the files in a loop. An example of such an export can be found in the FastReport Open Source documentation:
https://fastreports.github.io/FastReport.Documentation/Exporting.html.
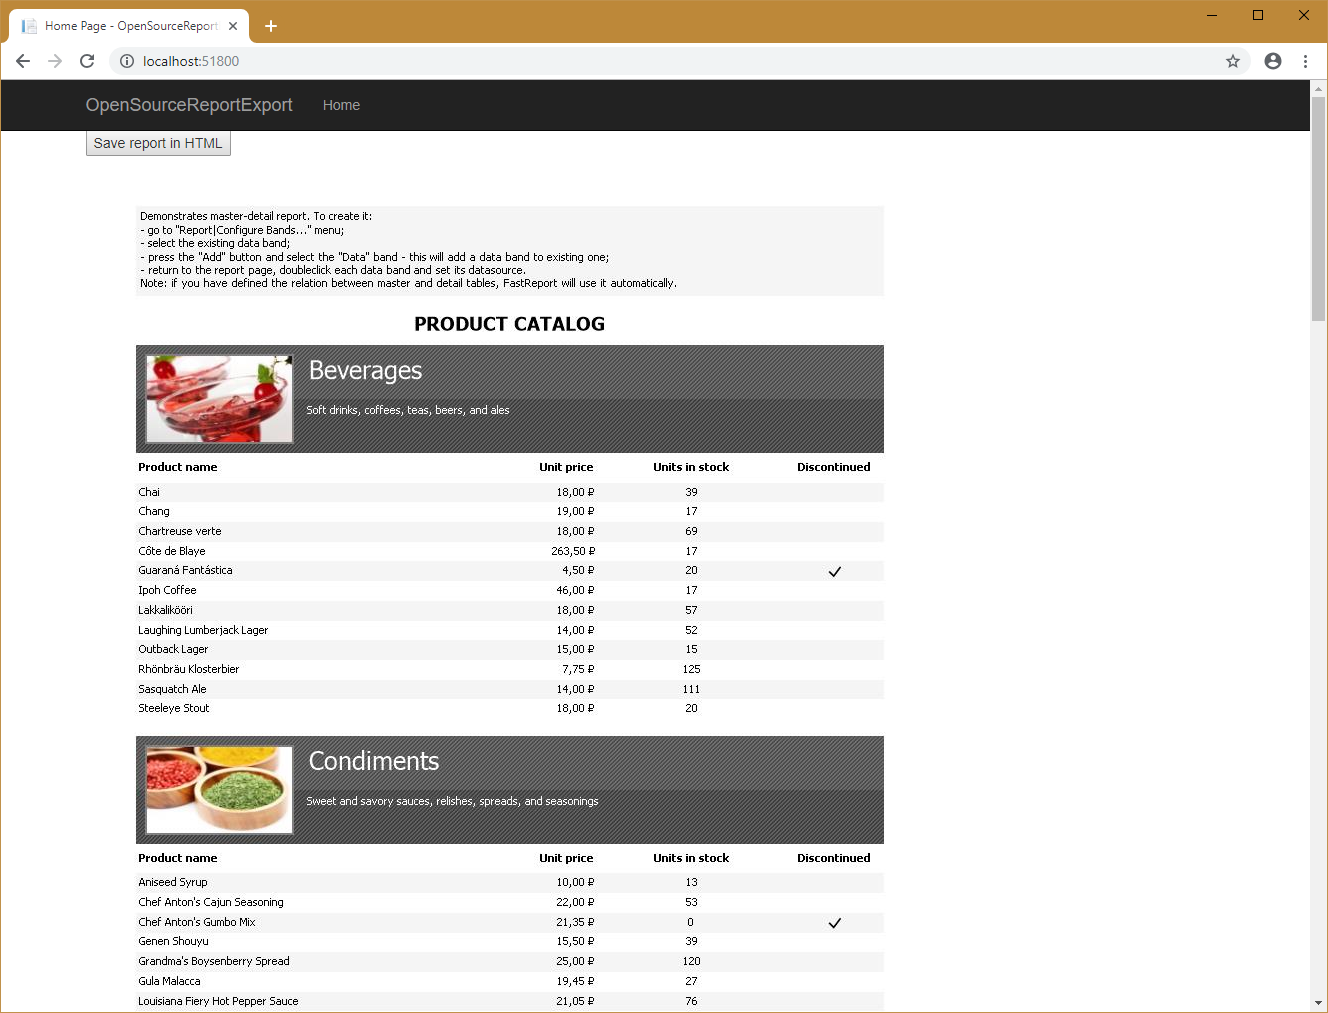
Let's run our application:

The image contains all report pages, because we set the SeparateFiles property = false. Otherwise, you would have to display several files.
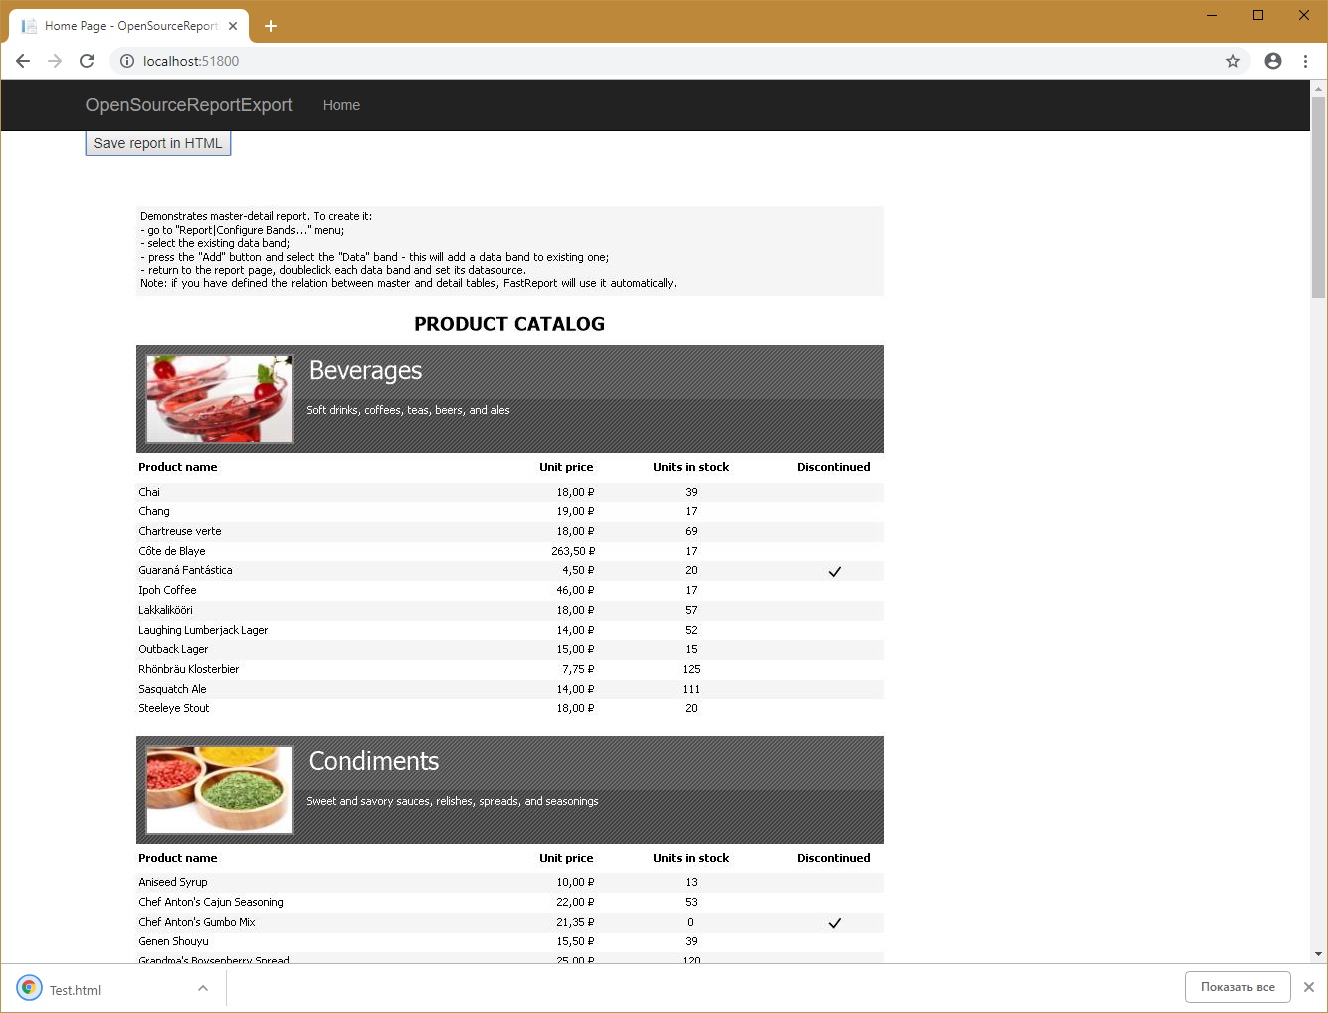
Press the button Save report in HTML:

And the file is automatically loaded by the browser.
That's all. As you can see, the implementation of export in code in FastReport Open Source has no difference from FastReport.Core.