How to use the new Table object in FastReport VCL 6
In my opinion, a very useful innovation in FastReport VCL 6 is the Table object. Previously, we only had a cross-table, which in fact was a matrix. And we need the matrix in specific reports. There was not enough ordinary table, which is convenient for scaling and moving fields. All the data in one container and there is no need to customize the fields each time the report is modified to avoid overlap. This is a big plus if you are going to export the report in tabular formats.
Let's look at the features of this object by example.
Add the "Table" object to the "Data" band. Of course, you can put the table on other bands, but then it will not be filled with data. Rather, it will contain data from the first row of the table only.
Table dimension
By default, the table is created with five columns and five rows.
Managing the dimension of the table is very simple:
- The first way. Select the "Table" object with the left click. In the lower right corner, you will see an icon similar to a miniature table.
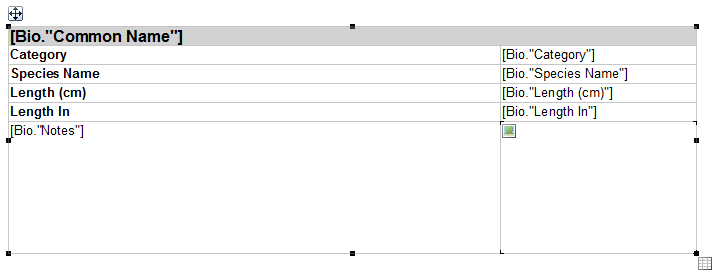 Pulling the mouse over the icon, you can increase the table dimension in height or width:
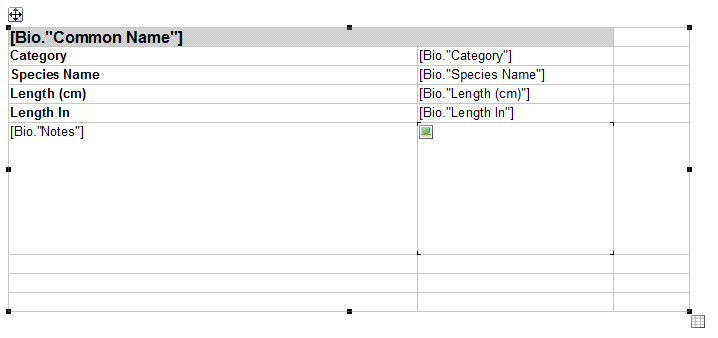
In the same way, you can reduce the table if you drag the table icon up and to the left.
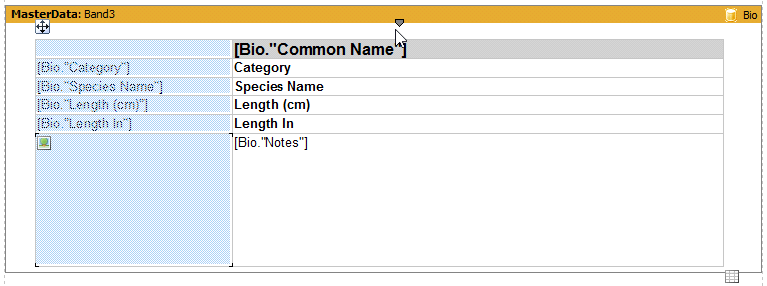
- • The second way. Select the table with the mouse. In the Property inspector, find ColumnCount and RowCount:

In our case, the number of columns is 2, and the number of rows is 6.
If you set the value less than the current one and press Enter, then the dimension of the table will decrease.
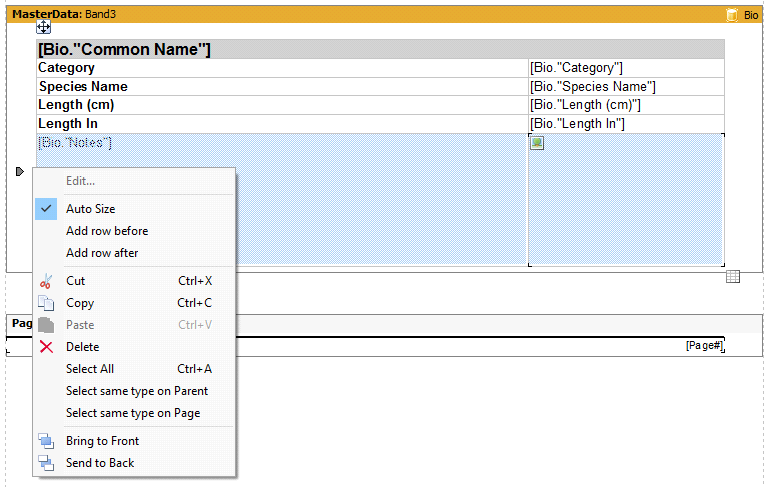
- • The third way. Select the column cell next to which we want to insert one more column. To select an entire column, move the mouse pointer just above the desired column, outside the table. This will bring up a gray arrow icon that points to the column. Make a right click on the icon or the area between it and the border of the table. In the resulting context menu, select the value "Add column before" or "Add column after" depending on your desire.
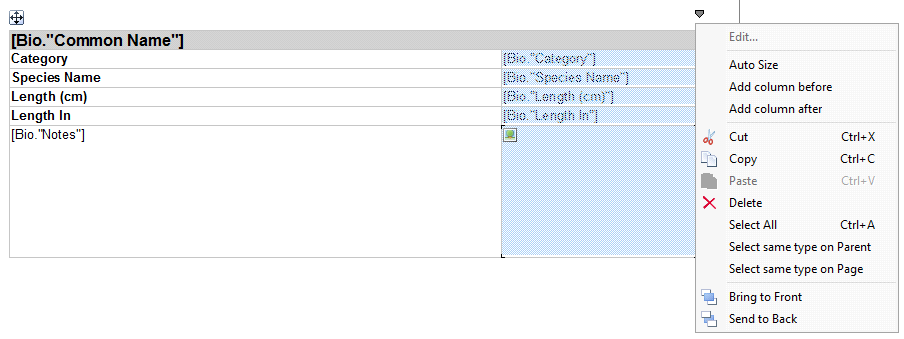
From the same menu, you can delete the selected column using the corresponding item.
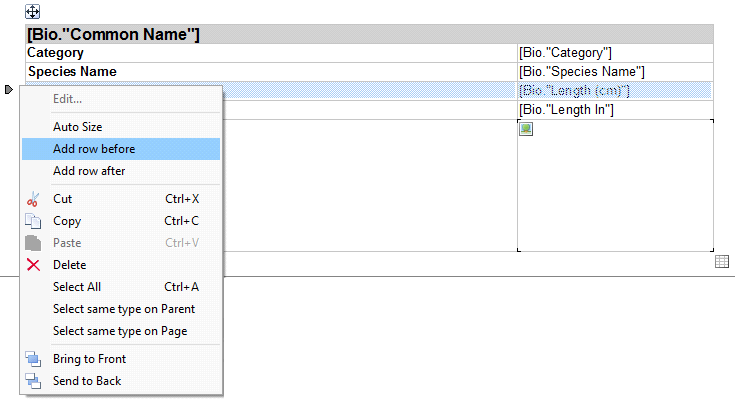
Adding / deleting a row can be done in exactly the same way. Just place the mouse pointer not on the table, but on the left.
Merge / split cells
To merge cells, you need to select with the mouse ones you want. Right click on the context menu and select the "join cells" item.
The merged cells can also be split, from the context menu, using the "split cells" item.
Adding Data
You can add fields to table cells in several ways:
1) Drag&Drop - drag the fields from the data area to the desired cells;
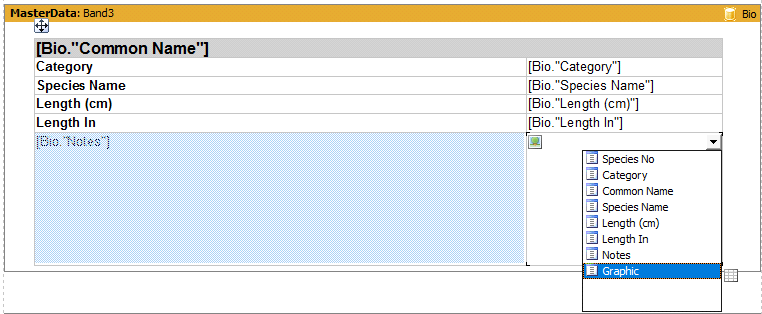
2) From the drop-down list in the cell. In this case, the data source for the Data band must be selected;
3) Double-click on the desired cell. In the text editor, click on the "Insert Expression" icon. In the expression editor, select the data field:

4) Group addition:
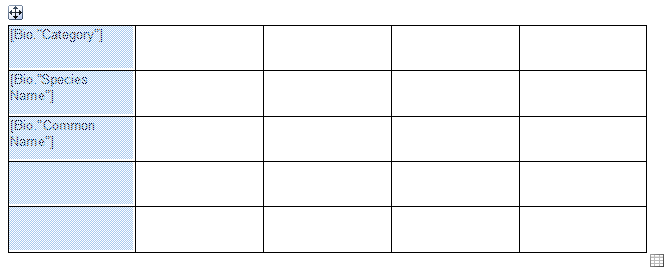
- Mark the necessary fields in the "Data" area with the left mouse button and the Ctrl key;
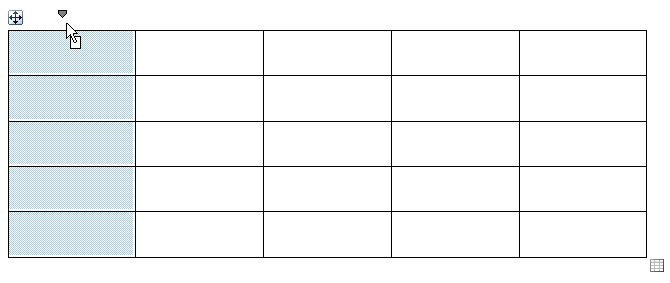
- Drag all the fields at once into the area between the arrow that highlights the column (row) and the border of the table:
Release the mouse button:
Moving columns and rows
But the possibilities of the table are not exhausted only by adding and removing. You can change the order of the columns and rows. To do this, select the column, hold down the Ctrl key, click the left mouse button and drag the column (row) to the desired location.
Before:
After:
Objects inside the table
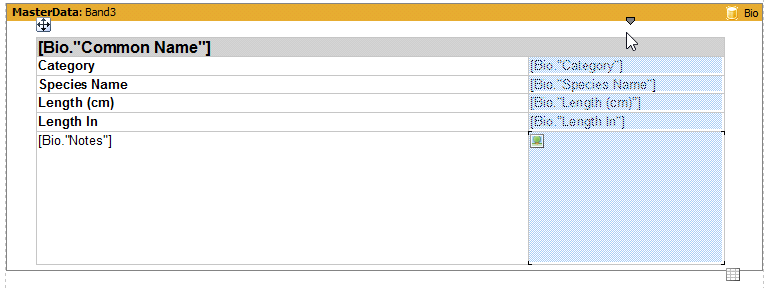
The table allows you to place different objects in cells. The restriction is superimposed only on tables, cross-tables, DB cross-tables and nested reports. All other objects can be placed in cells, and even all in one cell at the same time. For example, a picture:
Objects inside the cells can grow and move, as well as on the band.
Table Object Properties
The "Table" object has two properties that should be written about:
• AutoSize - the table can be stretched and compressed depending on the content of the cells;
• AllowSplit - the ability to split a table if it does not fit entirely on the table.
Let's take a closer look at the first property - AutoSize. You can assign auto-size to columns and rows. If one cell is stretched, neighboring cells should also be stretched along the vertical or horizontal.
To use it, you need to configure the Data band. In its properties we find Stretched and set as true. And for StretchMode, choose ActualHeight. Now the band can stretch in height. Now you need to select a column or row and make a right click on the area between the arrow-pointer of the column / row and the border of the table. In the context menu, select AutoSize.
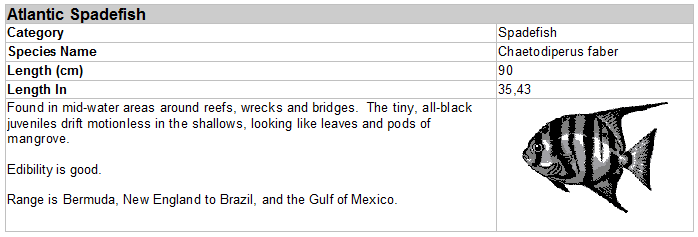
The lower line with the AutoSize property disabled:
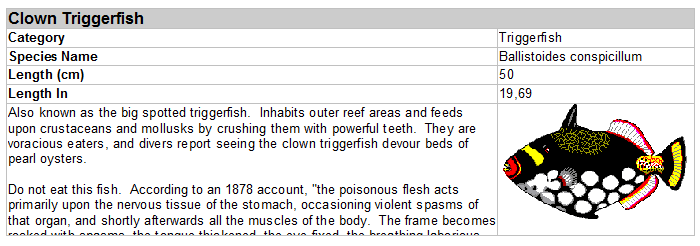
The lower line with the AutoSize property enabled:
Now consider the AllowSplit property. It's very easy to turn it on. It is necessary to enable the AllowSplit property for the "Data" band in which the "Table" object is located. You can do this by right clicking on the band header. In the context menu, select the desired property. Or, in the Data properties inspector for the Band Data, you also find AllowSplit and set it to true. This is how the table looks if this property is disabled:
As you can see, the following table did not fit on the page and was moved to the next one. And now enable AllowSplit.
Part of the table is displayed on the first page, the rest is on the second one. This option helps to save paper when printing reports with tables.
It's time to sum up. The considered "Table" object was quite functional and, in my opinion, will be popular with report developers for its usability.