How to send reports on a schedule by email via FastReport.Desktop
Often the company needs to generate periodic reports, send them to e-mail or save to a certain place. Having a report generator, it's easy to do. However, you need to create an application that will work with the report generator. This requires some programming skills and experience with the programming environment. But what if you don't have this experience, or don't want to purchase an expensive development environment license?
FastReport Desktop allows you to solve these issues. This is a stand-alone software package that doesn't require the creation of a custom application. Accordingly, no programming skills are required. FastReport Desktop allows you to: create reports, create them on a schedule, export the report to various formats, send a report by email, save reports on a local disk or on remote resources.
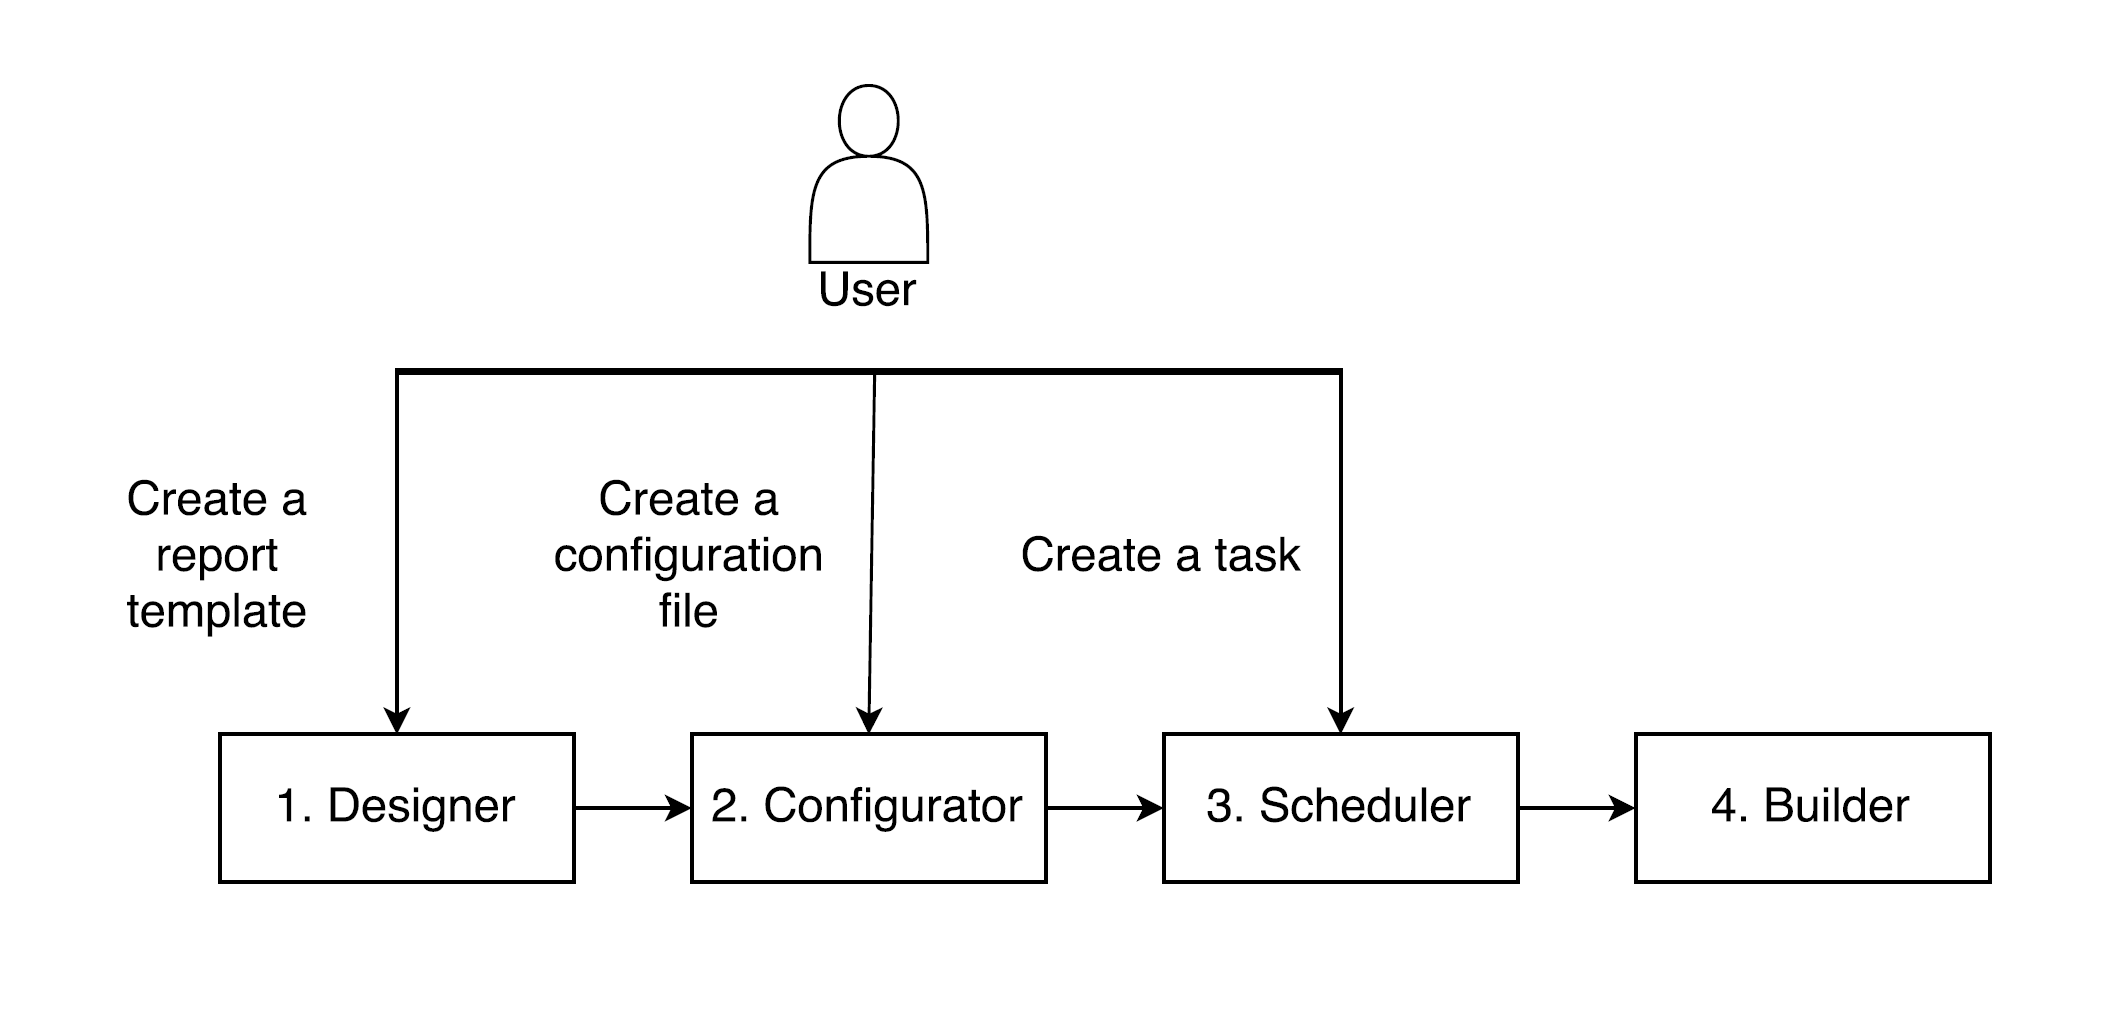
Let's look at this software package. It is represented by five parts:
- Designer – the program for creating report templates;
- Viewer – the program for viewing reports;
- Builder – console utility for report building;
- Configurator – the program for creating configuration files containing instructions for builder;
- Scheduler – task scheduler for reports.
On the diagram I will show the technological process of working with FastReport Desktop:
So, we are faced with the task of organizing a daily report and sending it by e-mail.
1. From the diagram above it is clear that in the beginning it is necessary to create a report with the designer. To do this, run the appropriate program. I created a simple report of the Master-Detail type, which displays a list of categories of goods. This is what it looks like:

We save the report to the local disk.
2. Now you need to create a configuration file.
Run the Configurator:
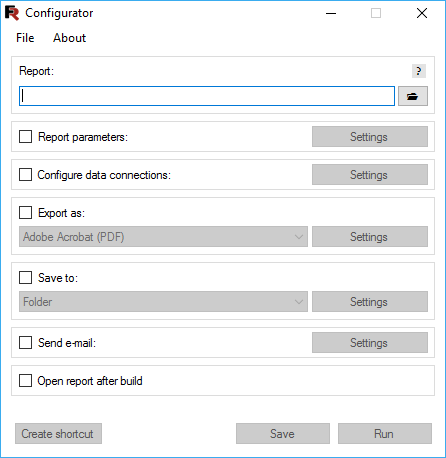
Select the report file in the "Report" section by pressing the button.

For example, the "Text in Curves" option. In this case, all the text in the report will be drawn with curves, which makes copying the text impossible. We proceed further.
The next step is to set up the email settings. The report file will be attached to the email.
Check the checkbox in the "Send e-mail" section.
You must fill out the settings of the outgoing e-mail server:

On the E-mail tab, fill in the email parameters:

This is the main form of the program that displays all the settings:
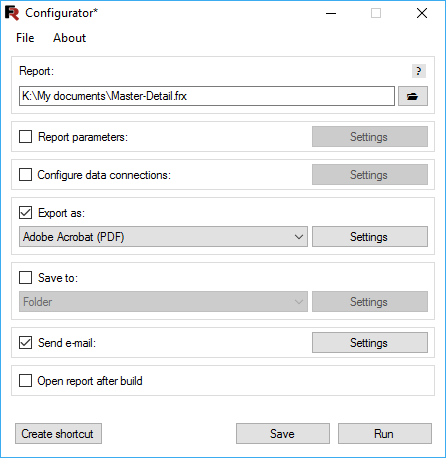
You need to save the configuration to the hard disk. By the way, the "Run" button allows you to run the configuration immediately. Close the program and proceed to create a task in the Scheduler.
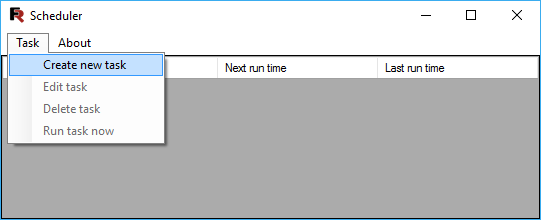
3. Run the Scheduler:
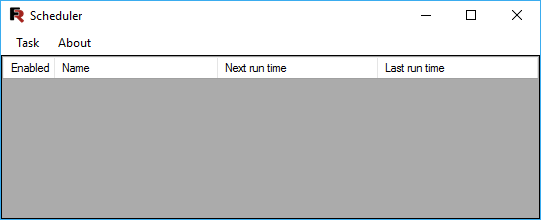
The interface is simple and straightforward. Add a new task using the "Task" menu:
The form of creating a task is also intuitively clear:
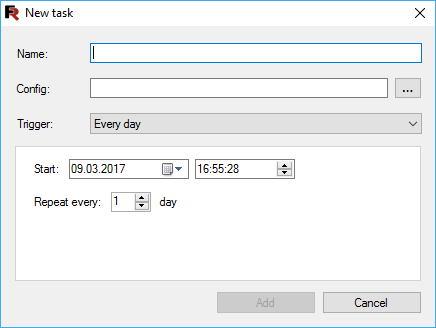
The task name, configuration file, and trigger are specified. By default, the desired trigger is selected - "Every day". For this trigger, the date and time of operation, the frequency of the recurrence are specified.
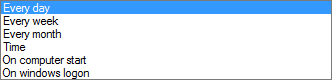
A set of triggers covers all possible needs:
We press the button "Create". In the main form a new task has appeared:
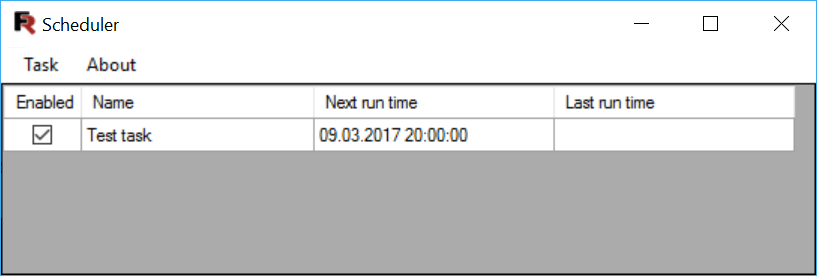
So, we see that the task is enabled and the time of the last run is still empty. Well, wait a bit.
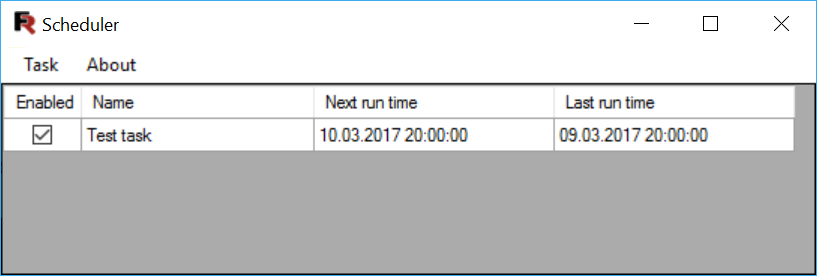
The task worked at a given time. A note about this appeared in the field "Last run time". Now, the report will be formed every day and sent at this time.
And now check the mailbox:

And we see a letter with our report in PDF format.
Convenient and simple.