How to use Online Designer in ASP .NET Core
One of the novelties by FastReport .NET 2018 was the adaptation of OnlineDesigner to the .NET Core framework.
In general, the online designer has not changed. Today we will consider some of the features of its use in the ASP .NET Core project.
As you remember, you first need to build OnlineDesigner in the web designer. You will see a link to the web designer in the client section at www.fast-report.com.
In the web designer of the online designer, you should choose the components that have to be present, styles, plugins, etc. Pay attention to the "Configuration" section. Here you need to set API URLs. Choose FastReport.Web for Core:

After assembling the designer, you download the archive.
Let's create an ASP .NET Core application:
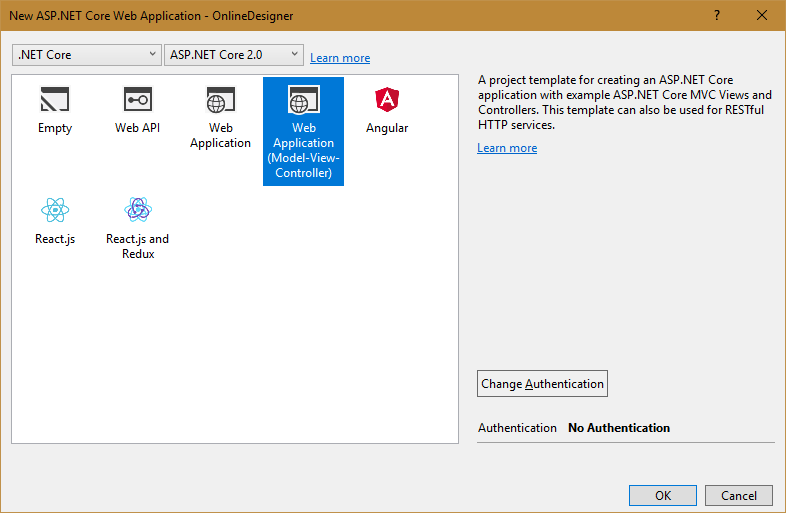
Select the Web Application template:
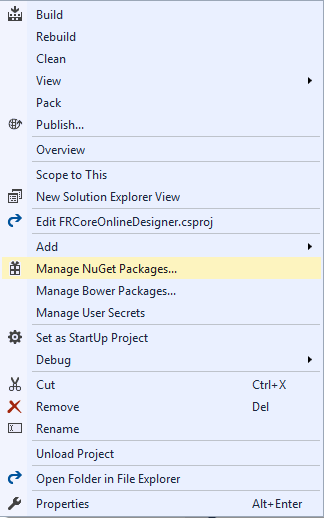
First of all, you need to add the FastReport.Web library to your project. You can do this with the nuget package manager. Make a right click on the root of the project in the Solution Explorer and select the NuGet Package Management:
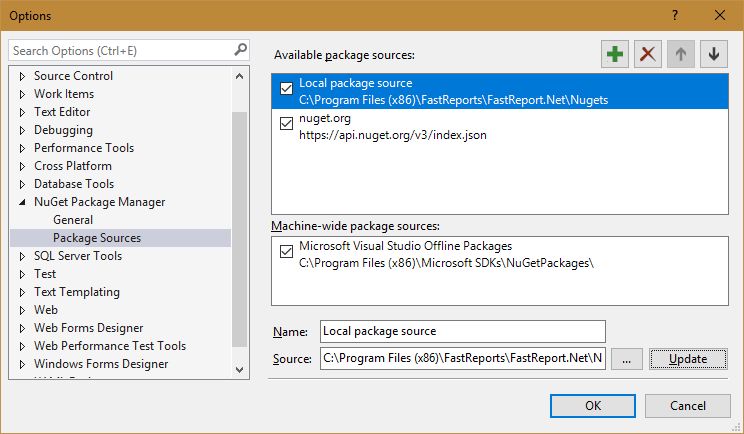
We select the local package source in the package manager:
![]()
You need to configure it on the folder:
С:\Program Files (x86)\FastReports\FastReport.Net\Nugets. To do this, click the gear icon:
After that, you will see the FastReport packages. Install the FastReport.Web:

Let's start creating the program.
We need to put the folder WebReportDesigner from the archive which we have downloaded in wwwroot.
Let's also add two folders to wwwroot: Reports and DesignedReports.
In the first folder we will put the Simple List.frx report template and the nwind.xml database. Both files can be taken in the folder C:\Program Files (x86)\FastReports\FastReport.Net\Demos\Reports. We will save the report from OnlineDesigner to the DesignedReports folder.
Open the controller HomeController.cs. Let's add libraries to using:
1 2 3 4 5 |
using FRCoreOnlineDesigner.Models; using FastReport.Web; using System.IO; using Microsoft.AspNetCore.Http; using Microsoft.AspNetCore.Hosting; |
In the HomeController constructor, we get the hostingEnvironment object, from which we learn the absolute path to the wwwroot folder.
1 2 3 4 |
public HomeController(IHostingEnvironment hostingEnvironment) { _hostingEnvironment = hostingEnvironment; } |
Let's edit the Index method:
1 2 3 4 5 6 7 8 9 10 11 12 13 14 15 16 17 18 19 20 |
public IActionResult Index() { WebReport WebReport = new WebReport(); // Create a Web Report Object WebReport.Width = "1000"; // Set the width of the report WebReport.Height = "1000"; // Set the height of the report string webRootPath = _hostingEnvironment.WebRootPath; // Get the path to wwwroot folder //string contentRootPath = _hostingEnvironment.ContentRootPath; WebReport.Report.Load(webRootPath + "/reports/Simple List.frx"); // Load the report into a WebReport object System.Data.DataSet dataSet = new System.Data.DataSet(); // Create a data source dataSet.ReadXml(webRootPath + "/reports/nwind.xml"); // Open the xml database WebReport.Report.RegisterData(dataSet, "NorthWind"); //Register the data source in the report WebReport.Mode = WebReportMode.Designer; // Set the mode of the web report object - display of the designer WebReport.DesignerPath = "/WebReportDesigner/index.html"; // Specify the URL of the online designer WebReport.DesignerSaveCallBack = "/Home/SaveDesignedReport"; // Set the view URL for the report save method ViewBag.WebReport = WebReport; // pass report to View return View(); } |
Let’s add one more method – the server saving method:
1 2 3 4 5 6 7 8 9 10 11 12 13 |
[HttpPost] // call-back for save the designed report public ActionResult SaveDesignedReport(string reportID, string reportUUID) { string webRootPath = _hostingEnvironment.WebRootPath; // Get the path to wwwroot folder ViewBag.Message = String.Format("Confirmed {0} {1}", reportID, reportUUID); // Set a message for view Stream reportForSave = Request.Body; // Write the result of the Post query to the stream string pathToSave = webRootPath + "/DesignedReports/TestReport.frx"; // get the path to save the file using (FileStream file = new FileStream(pathToSave, FileMode.Create)) // Create a file stream { reportForSave.CopyTo(file); // Save the result of the query to a file } return View(); } |
Note: If the application runs under Core 3.x, then keep in mind that synchronous read / write streams are disabled by default. Therefore, you need to change the code at the end of the SaveDesignedReport method:
1 2 3 4 5 |
using (FileStream file = new FileStream(pathToSave, FileMode.Create)) // Create a file stream { reportForSave.CopyToAsync(file).Wait(); // Save the result of the query to a file } return View(); |
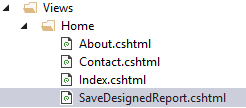
For this web method, you need to add one more view. For the folder View-> Home, call the context menu and select Add-> New item. Next, select the MVC View Page template and the name SaveDesignedReport.
The page code is quite simple:
And now edit the view index.cshtml:
1 2 3 4 |
@{ ViewData["Title"] = "Home Page"; } @await ViewBag.WebReport.Render() |
The await statement indicates the call to the asynchronous report processing method.
Now open the class Startup.cs.
In the Configure method, at the very beginning, add the line:
1 |
app.UseFastReport();
|
Now the application will use the FRCore library.
Launch our web application:
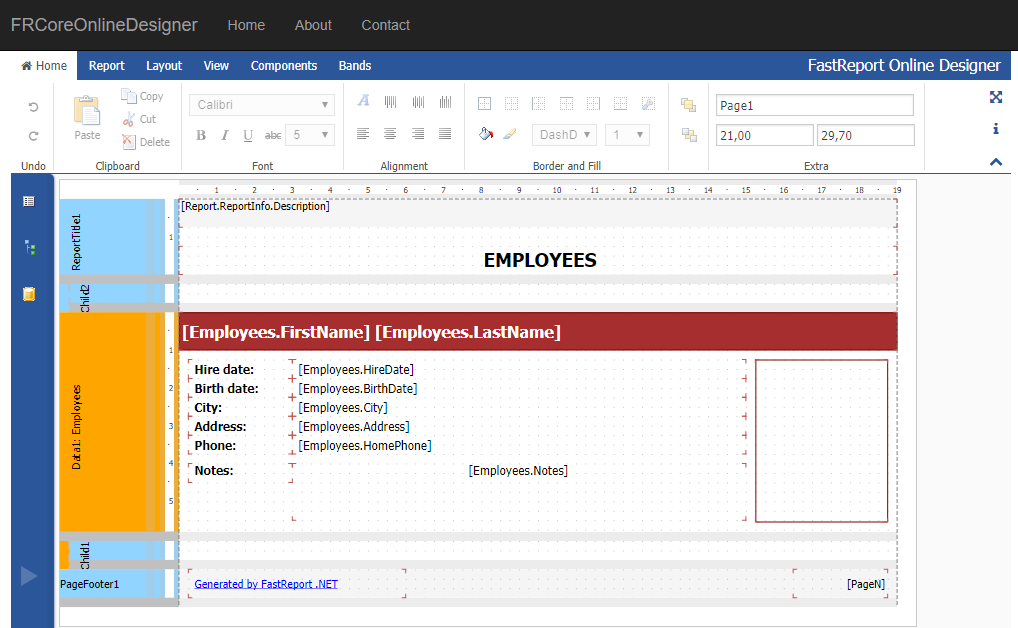
Save the report:

The message “Saved” appeared to the right. It's time to check the DesignedReports folder:
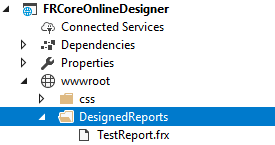
The report was successfully saved.
Well. Let's sum up. FastReport .NET 2018 has completed the global adaptation of its Web components to the ASP .NET Core framework. At the same time, the developers tried to keep the mechanism of using their components to the maximum possible, similar to their use in the ASP .NET MVC.