How to connect the IBM DB2 database in reports designer FastReport .NET
To connect the report to a DB2 database, you need to connect the plugin to the designer reports. This plug is a connector. But first you need to collect this connector from the project:
С:\Program Files (x86)\FastReports\FastReport.Net\Extras\Connections\FastReport.DB2
The resulting FastReport.DB2.dll library is our plug-in.
To add it, run the report designer and open the File->Options menu. On the Plugins tab, click add and select the library you've created. Then restart the designer. Let's move on to creating a report data source. Add a new connection:
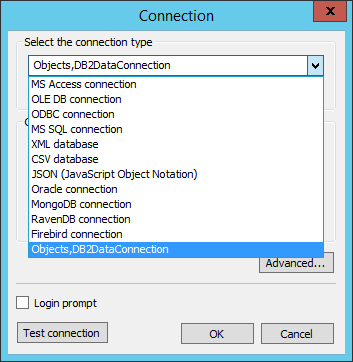
Objects, DB2DataConnection, appeared on the list of available connectors. Choose it and set up the connection:
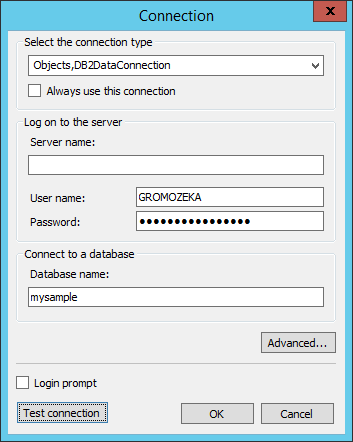
If the database server is deployed locally, then it is not necessary to enter the server name. We proceed to the choice of tables.
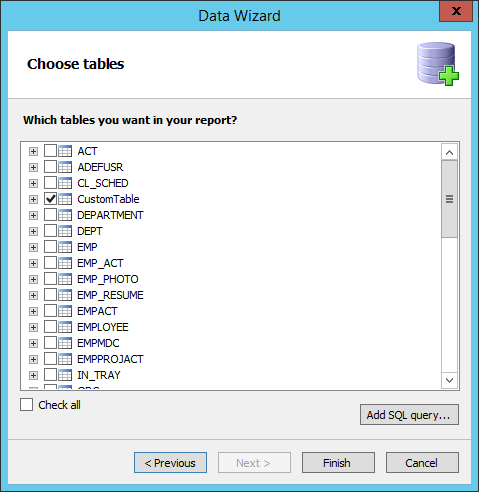
At this stage, you can filter the data by using a SQL query. It will be created based on the representation of the data sample on request. The main advantage of this method - the ability to use parameters in a SQL query. Parameters can receive data from the report variables, functions and other expressions. To create a presentation based on your own SQL query, click the "Add SQL query ...".
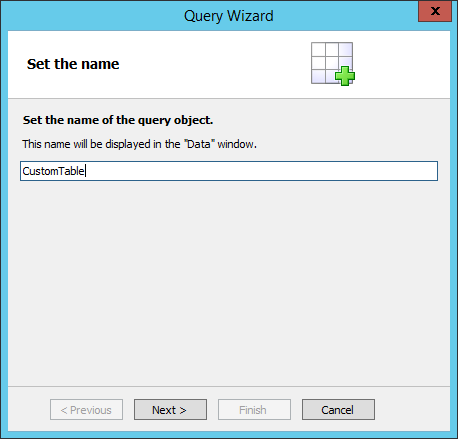
Defining the view name, and move on to writing the SQL query:
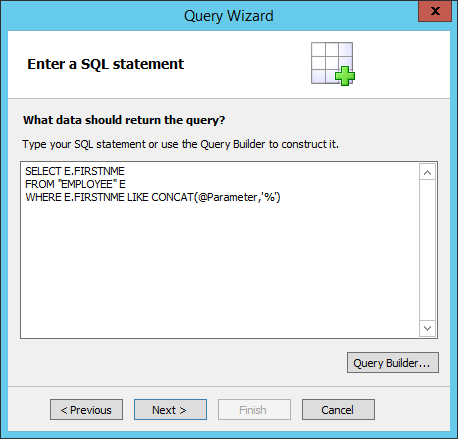
This request contains a parameter defined by the @ symbol. This parameter we will create on the next step.
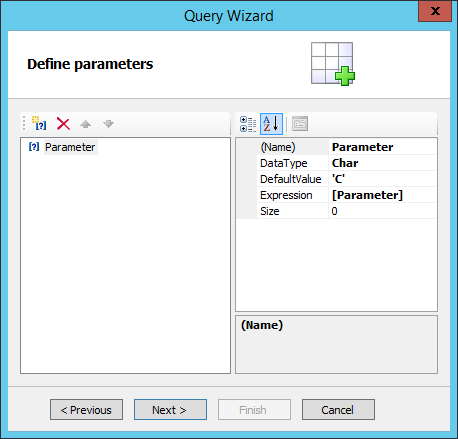
Parameter name should be the same as in an SQL query. As an expression the report parameter is used. A report parameter is set to 'C'. So we filter out employees by the first letter of the name. In the end, in the final report, we will get the record:
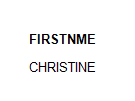
So you can filter data using query parameters. A value can be passed to the report from the outside, using a URL. This means that you can specify what data you need in your web application in advance, before generating the report.