How to manage the indentation on top of the second page of the report
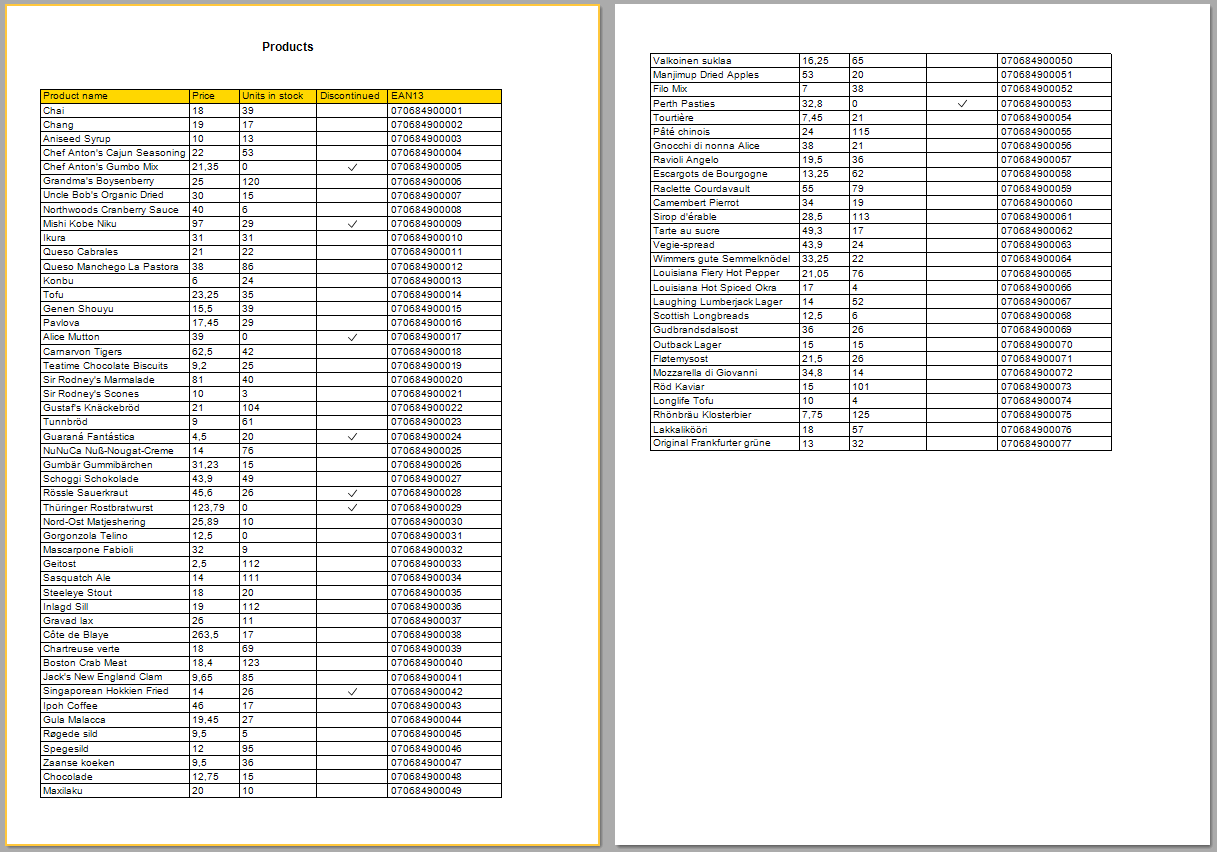
Often, when the report is displayed, you can observe how the data that does not fit on the first page is transferred to the second one. This is typical for the band "Data" and "Group header", and associated with them.

The Data band can contain data fields, or other objects, such as a table or matrix.
To make the first page completely filled with data, without spaces, you need to set the CanBreak property for the Data band. But what if you want the "rest" of the table on the second page to place below the top edge? For example at the level of the beginning of the table. At the same time, if you view two sheets of the report at the same time, it will look harmonious. There are no regular settings for this. However, we can always use the report script, and do everything.
Therefore, there are two ways to do this, and they are both very similar.
The first way:
- Add the "Page title" band;
- Add a BeforePrint event handler for this band;
- In the event handler code, check the current page number, and if it's the second page, but change the height of the band to a suitable value.
Picking up the height of the "Page Title" band, we can achieve printing the table on the second page at the same level as on the first page.
The second method is almost identical to the first:
- Add the "Page title" band;
- Set the desired height in the properties;
- Add a BeforePrint event handler to the "Page title" band;
- In the event handler code, check the current page number, and if it's the second page, but display the band.
Just choose what you like, because both methods are equivalent,.
Now consider the code of the BeforePrint event handler for the "Page header" band.
The first way:
1 2 3 4 5 6 7 |
private void PageHeader1_BeforePrint(object sender, EventArgs e) { if (Engine.CurPage > 0) PageHeader1.Height = 50; // Set top margin else PageHeader1.Height = 0; } |
The second way:
1 2 3 4 5 6 7 |
private void PageHeader1_BeforePrint(object sender, EventArgs e) { if (Engine.CurPage > 0) PageHeader1.Visible = true; else PageHeader1.Visible = false; } |
As you can see, in the first case, we change the height of the band in the code, and in the second case, we display the band with a predetermined height.
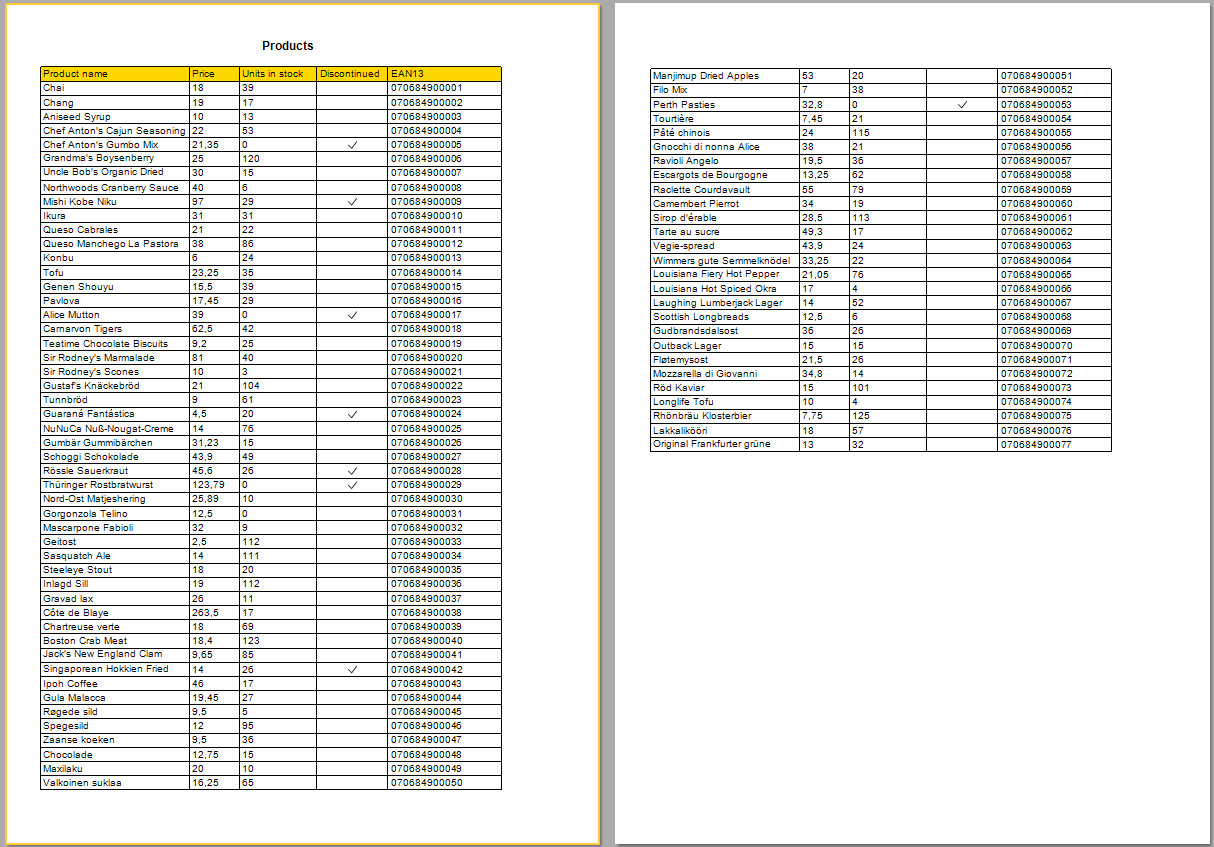
As a result, we get an upper margin for the table on the second page of the report:

Thus you can adjust the margins for each subsequent page of the report.