How to make custom ToolBar in report preview
Most report generators have a report-viewing mode with a toolbar from which you can make various manipulations of the report. For example, flipping through pages, printing, exporting and more. However, sometimes there is not enough buttons with any functionality. This can be a quick export to some format, or sending a report to a review, or maybe you might want to do a mass mailing of the report. Either way, the standard toolbar FastReport.Net does not allow you to add your custom features. But the developers have provided the possibility of creating their own preview mode. And it is great, not everyone likes the standard Preview. Many would love to remove some unnecessary buttons, but would add their own “features”. Therefore, let's look at how to quickly and easily make your Preview for reports. All features from the standard preview mode are available to us in the FastReport.dll library.
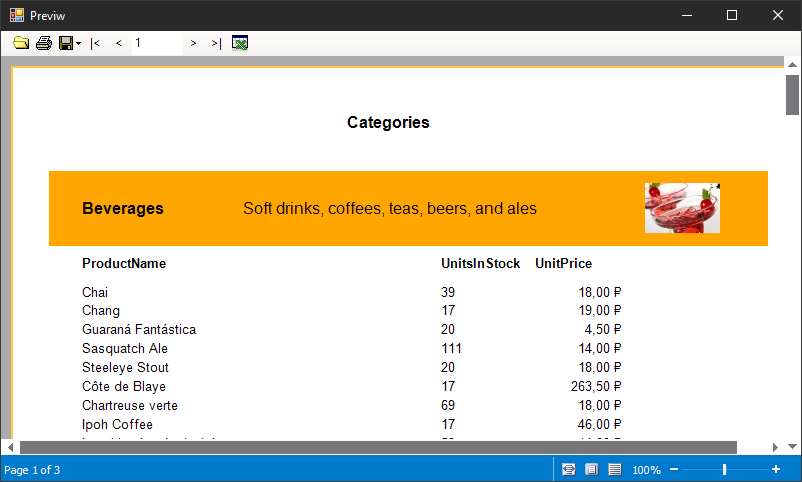
Let's take a look at this example. A typical Windows Forms application. We are connecting FastReport.dll library to it. On the form we add the toolbar component ToolStrip and PreviewControl - a standard report viewer. This component already has its own toolbar, but it's easy to hide in the toolbar properties.
On the toolbar, we created buttons with the necessary functionality:
Open the report, print, export, flipping pages and a special button with its functionality. It will keep a report in csv format in the specified folder. Such a QuickSave. Suppose we often use this particular functionality, so we moved it to a separate button. Now let's look at the application code:
1 2 3 4 5 6 7 8 9 10 11 12 13 14 15 16 17 18 19 20 21 22 23 24 25 26 27 28 |
public partial class Form1 : Form { private Report FReport; private DataSet FDataSet; public Form1() { InitializeComponent(); } private void LoadBtn_Click(object sender, EventArgs e) { FReport = new Report(); FReport.Preview = previewControl1; using (OpenFileDialog file = new OpenFileDialog()) { if (file.ShowDialog() == DialogResult.OK) { FDataSet = new DataSet(); FDataSet.ReadXml("K:/My documents/nwind.xml"); FReport.Load(file.FileName); FReport.RegisterData(FDataSet, "NorthWind"); FReport.Prepare(); FReport.ShowPrepared(); } } } |
Download report button opens a standard File Open dialog window. Then we upload the database to a data source, upload the selected report template in the report object, register it as a source of data to collect and display the report in the component Preview.
1 2 3 4 5 6 7 8 9 10 11 12 13 14 15 16 17 18 19 20 21 22 23 |
private void SaveBtn_Click(object sender, EventArgs e) { SaveBtn.DropDownItems.Clear(); List<ObjectInfo> list = new List<ObjectInfo>(); RegisteredObjects.Objects.EnumItems(list); ToolStripMenuItem saveNative = new ToolStripMenuItem("Save to .fpx file..."); saveNative.Click += new EventHandler(item_Click); SaveBtn.DropDownItems.Add(saveNative); foreach (ObjectInfo info in list) { if (info.Object != null && info.Object.IsSubclassOf(typeof(ExportBase))) { ToolStripMenuItem item = new ToolStripMenuItem(Res.TryGet(info.Text) + "..."); item.Tag = info; item.Click += new EventHandler(item_Click); if (info.ImageIndex != -1) item.Image = Res.GetImage(info.ImageIndex); SaveBtn.DropDownItems.Add(item); } } } |
Export/ save button actually has a drop-down list with a variety of export formats. First, I clear the drop-down list, and create a list of objects for export. Loading the list of all registered objects.
Then, I add the first element to the list of exports - exports native format, i.e. fpx format. All the other available formats are added to the list in a loop. Some of the exports have picture. Each element of the list is assigned to item_Click event that handles pressing the item.
1 2 3 4 5 6 7 8 9 10 11 12 13 14 |
private void item_Click(object sender, EventArgs e) { ObjectInfo info = (sender as ToolStripMenuItem).Tag as ObjectInfo; if (info == null) { previewControl1.Save(); } else { ExportBase export = Activator.CreateInstance(info.Object) as ExportBase; export.CurPage = previewControl1.PageNo; export.Export(previewControl1.Report); } } |
The event handler item_Click is exporting the report, which is currently displayed in the Preview component.
1 2 3 4 |
private void PrintBtn_Click(object sender, EventArgs e) { previewControl1.Print(); } |
Print button opens PrintDoc dialog window.
1 2 3 4 |
private void FirstBtn_Click(object sender, EventArgs e) { previewControl1.First(); } |
“First” button shows the first page of the report.
1 2 3 4 |
private void PrevBtn_Click(object sender, EventArgs e) { previewControl1.Prior(); } |
“Prev” button shows the previous page of the report.
1 2 3 4 |
private void NextBtn_Click(object sender, EventArgs e) { previewControl1.Next(); } |
“Next” button shows the next page of the report.
1 2 3 4 |
private void LastBtn_Click(object sender, EventArgs e) { previewControl1.Last(); } |
And finally “Last” button shows the last page of the report.
1 2 3 4 5 6 7 |
private void PageNo_KeyDown(object sender, KeyEventArgs e) { if (e.KeyData == Keys.Enter) { previewControl1.PageNo = int.Parse(PageNo.Text); } } |
The text field between buttons shows the number of the current page. Changing this value you can switch between the report pages.
1 2 3 4 |
private void PreviewControl1_PageChanged(object sender, EventArgs e) { PageNo.Text = previewControl1.PageNo.ToString(); } |
But if to switch between pages using buttons the page number in the text field will change as well. According to page change event in Preview component.
1 2 3 4 5 |
private void QuickSaveCSVBtn_Click(object sender, EventArgs e) { FastReport.Export.Csv.CSVExport ex = new FastReport.Export.Csv.CSVExport(); FReport.Export(ex, "Text.csv"); } |
In conclusion - our custom button. Its functionality is taken from nowhere, just for demonstration. It saves a report in csv format. Thus you can make a convenient report viewer for yourself or the customer, providing it with the necessary functions.
Dream on additional features in the Preview can be infinite, the main thing that the developers have given us this opportunity.
And if you want to use your preview component when displaying reports from the application code, we use the following code:
Here we override the view component of the report. Telling truth we had to make previewControl1 public.
That's all. I hope you take advantage of this great opportunity, how to make a custom viewer reports.