Connecting to cloud storage in FastReport VCL
Beginning from the first release of FastReport VCL 6 there is an ability to set connections for Dropbox, Google Drive, Box, OneDrive through special components – “Transports”. To improve the experience of internet transports using starts from FastReport VCL 2021.3 we have reworked authorization to OAuth2.0 by using the default browser in the operating system and extend the connection dialog.
Important! For the HTTPS protocol to function properly, the following OpenSSL libraries are required: libssl-3.dll and libcrypto-3.dll. These libraries can be found in the directory with the main demo application. They need to be copied to the application's folder or the system directory.
Content:
What are the benefits of such an approach?
- The customer uses a familiar and trustworthy browser. Which’s increases security.
- The application does not require embedding of browser components which decreases application size.
- Fast connection for customers who are already authorized in a default browser. Does not require another authorization.
The connection process to cloud storage from FastReport VCL 2021.3 is similar and only has differences in setting-up on the cloud storage side. That’s why we start with the base functionality of the connection dialog.

The fields “Client ID” and “Client Secret” are using for authorization data from cloud storage and generate in the control panel of cloud storage. The buttons on the right from authorization fields are using to hide or show information inside these fields. For fast access to a control panel of cloud storage use a button with a question sign-on authorization dialog (Open configuration page). To save the received authorization token just set the “Save authorization token” checkbox.
The authorization token is stored in the system registry or configuration file as encrypted data.
The EncryptionKey property is responsible for the encryption key for selected transport components. This property is only available from the program code. The developer can change the encryption to save authorization data based on a security policy used in the company.
Adding of the transport to the application

- Open Embarcadero Rad Studio components palate and expand “FastReport VCL Internet transports”.
- Select a component you want to use and place it on an application form.
It’s possible to use the context menu right on the transport component. That should show a connection dialog to set a connection from IDE. Press the “Edit connection” submenu item.

By default, transports are using 9898 ports for authorization answers from the default browser.
In case when this port is already in use or you’re planning to use this port in the future, FastReport VCL allows you to change the default port through the ListenerPort property.
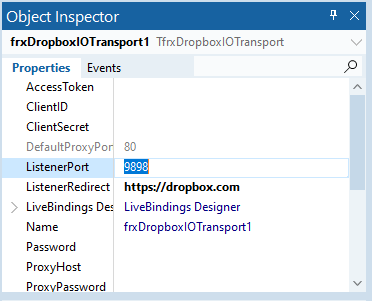
Further, we will assume using of 9898 port by default.
Now let’s look at the connection stages of these transports:
- Dropbox.
- Google Drive.
- Box.
- OneDrive.
Important! The user does not need to follow all of the following steps each time for authorization. This setup should be made once by the cloud storage administrator. After all authorization steps are complete those data can be used for other users as well.
Connection to Dropbox
When the user wants to open or save to a file using transport the authorization dialog should appear (in case the user is not already authorized before).

To open the control panel page of cloud storage press on the button with the question sign on the top right of the authorization window. After Dropbox control panel should appear in a default browser. If the user is not authorized in Dropbox then an authorization page will be displayed which can be used to login into Dropbox.

On this page, you need to select API, access level, and set application name.
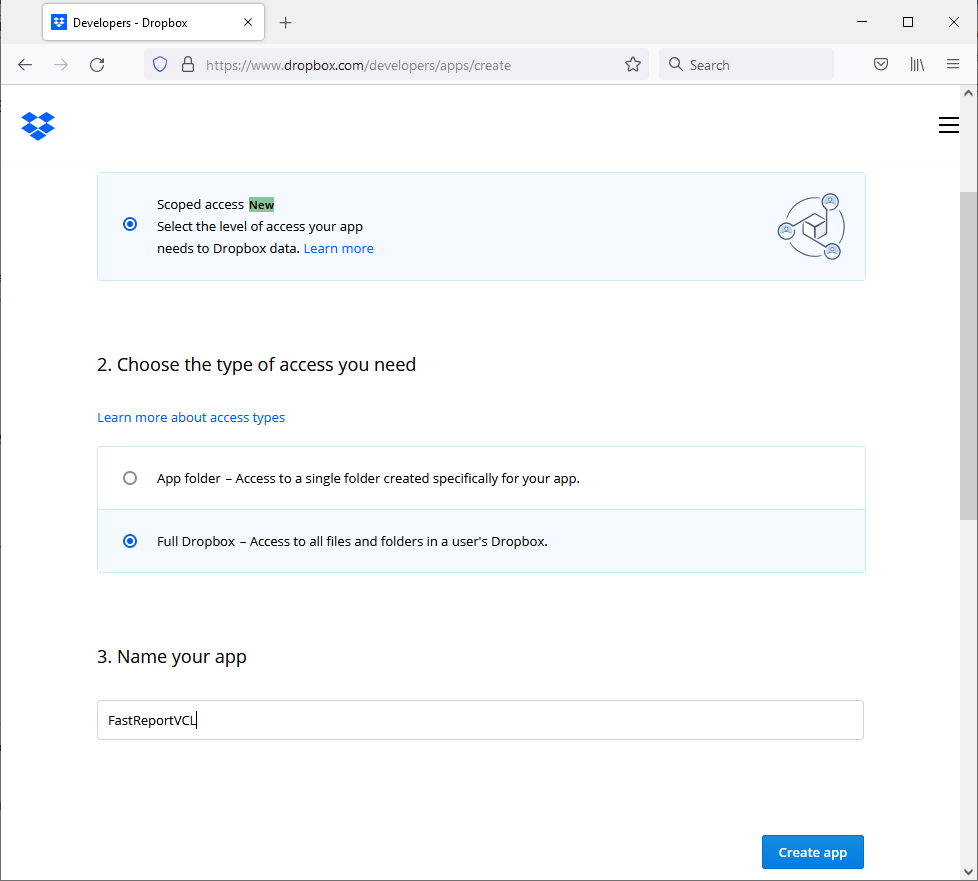
Next press the “Create app” button. The application is created. It should automatically redirect to the application options page. We need to scroll down the page and find the “App key” and “App secret” fields.

Just copy the “App key” and “App secret” fields to the FastReport VCL authorization dialog.

Return to a default browser with the setup page and set “Redirect URIs” filed to “http://localhost:9898” and press the “Add” button.
Pay attention, the port in the hyperlink should be the same value as the ListenerPort property of the transport component.

In addition, you can set other settings like the lifetime of authorization token.

Now we need to set access rights for the application. Go to the “Permissions” tab and set checkboxes in front of access rights (read and write, reading of file list and etc.).

After all the checkboxes are set, press “Submit”.
Now we can return to FastReport VCL and put “Save authorization token” and “Remember properties” checkboxes if we need to save authorization data. Press “Ok”. The default browser should appear. A user has to log in. When authorization is done connection warning will be shown.

Press “Continue” and the next dialog should appear.

Press the “Allow” button. You will see a message with a suggestion to close the window.
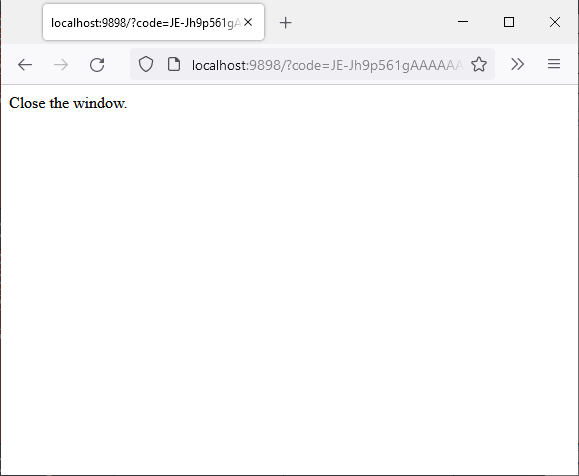
Our application is set and ready to use.

At this stage, we can send files to cloud storage.
Connection to Google Drive
The standard authorization dialog is the same for all transport filters and you can use descriptions from the above. Let’s move to the setup properties of Google Drive. You can call it by using the button with a question sign.
If this account doesn’t have any projects created to work with Google API, we need to create one as a first step.

Push the “Create project” button.
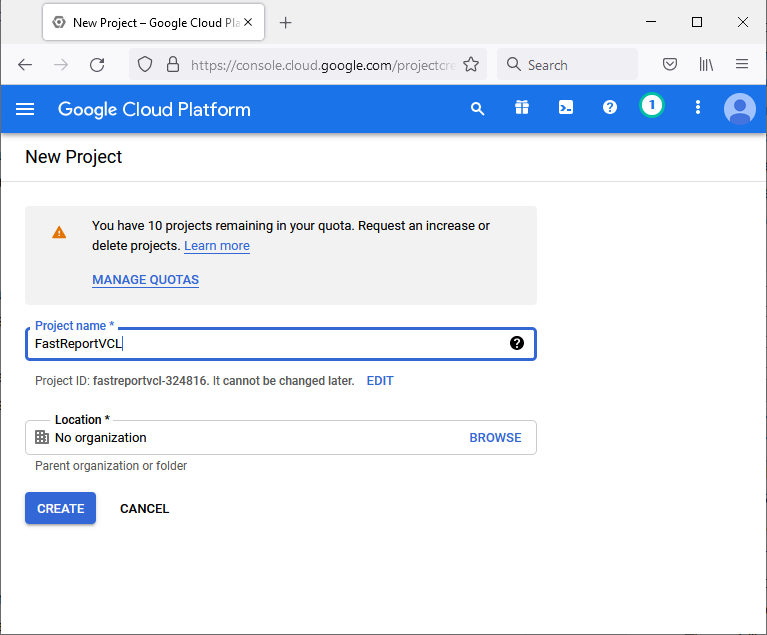
Enter the name of the project and push “Create”.

Use the “Select project” button to choose an active project.
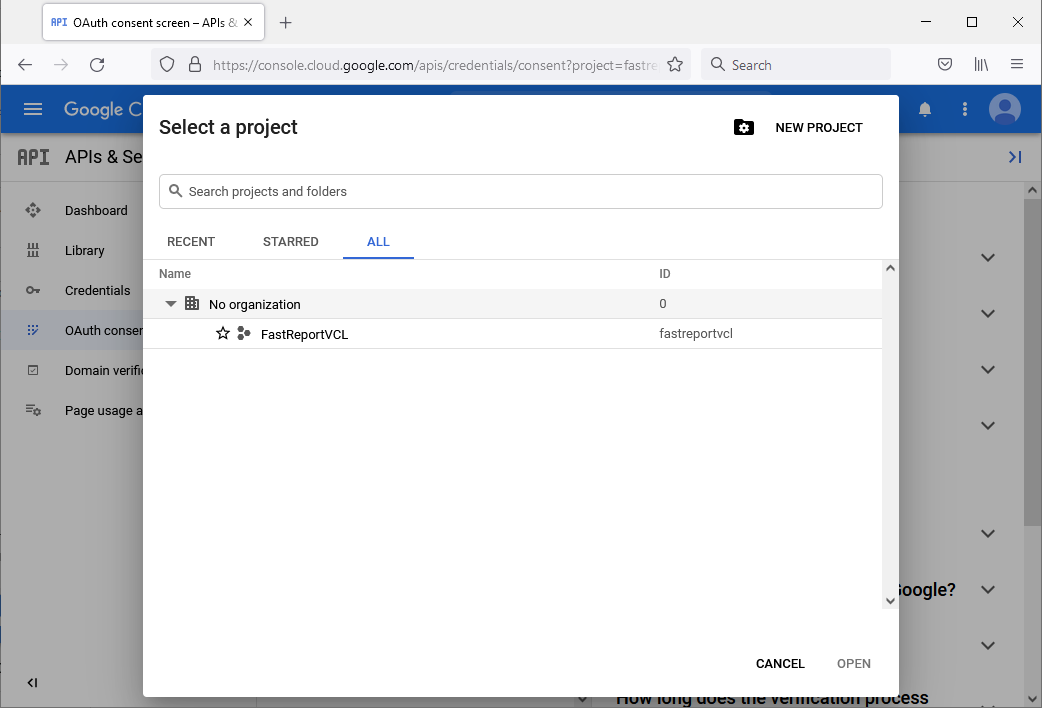
Select the project created before and push “Open”.
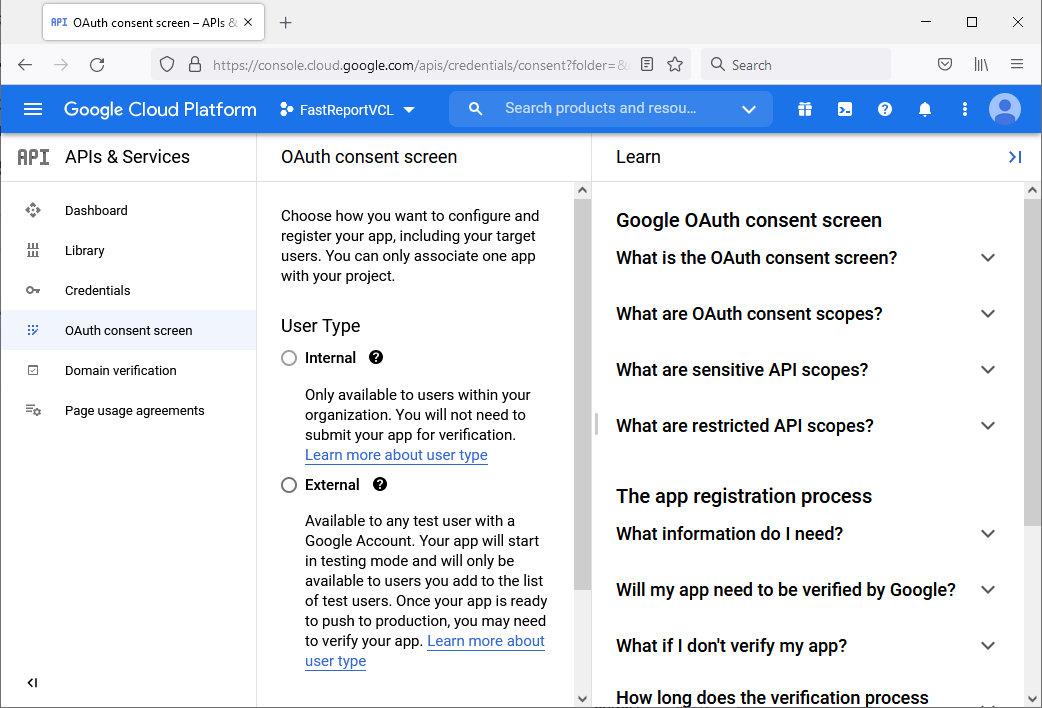
Switch to the “OAuth consent screen” category. We need to select a user’s type who are going to use this cloud storage: internal use with access only for organization users or for all Google accounts. After that hit the “Create” button.

Next enter the name of the application and contact e e-mail. Hit “Save and continue”.

In this step, we can set up scopes and we can skip it for Google Drive. Push the “Save and continue” button.
The next step allows set up access to the application for user groups. If you would like to publish access to the application – skip this step. Hit “Save and continue”.
The application created moves to the “Back to dashboard” tab.

Switch to the “OAuth consent screen” tab and push the “PUBLISH APP” button. This will create access to the application. Open this link and turn on Google Drive API, for an active project hit the “Enable” button.
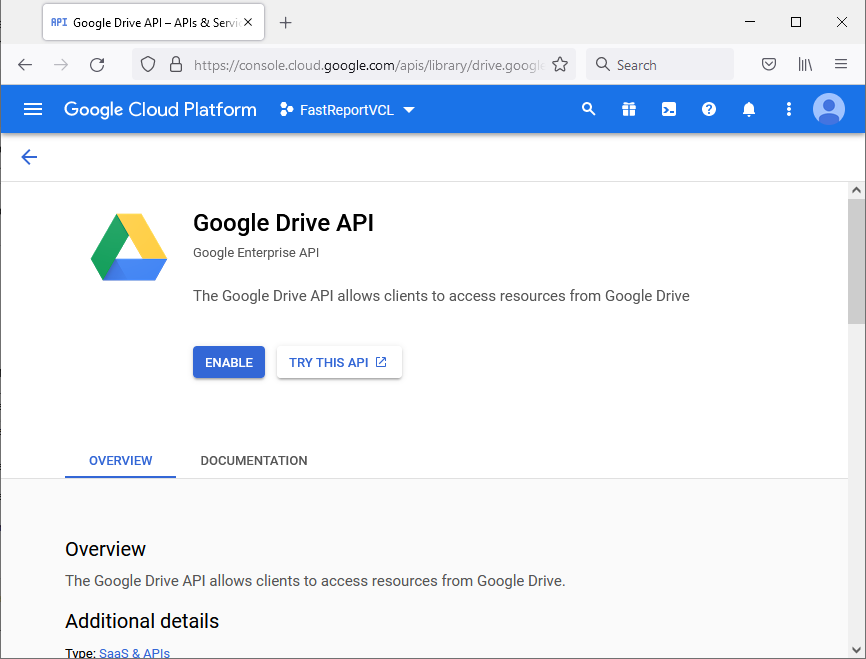
Now we need to create authorization keys. Switch to the “Credentials” tab.
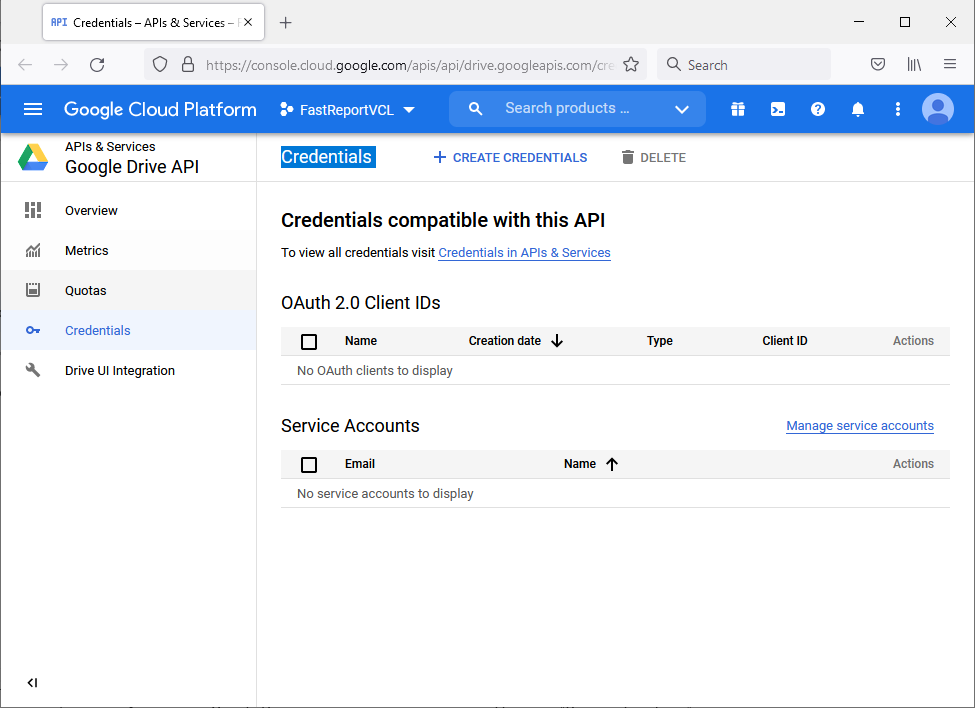
Hit on the “Create Credentials” and select “OAuth client ID”.

The next step is to select an application type (Desktop App in our case).

Enter any name of the application and hit the “Create” button. The client for authorization is created.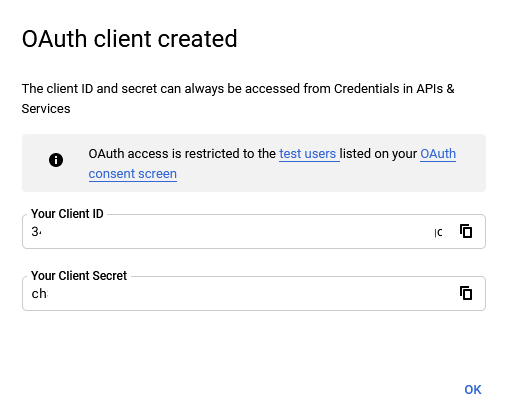
Just copy values of the “Client ID” and “Client Secret” fiends in the same fields on the FastReport VCL authorization dialog.
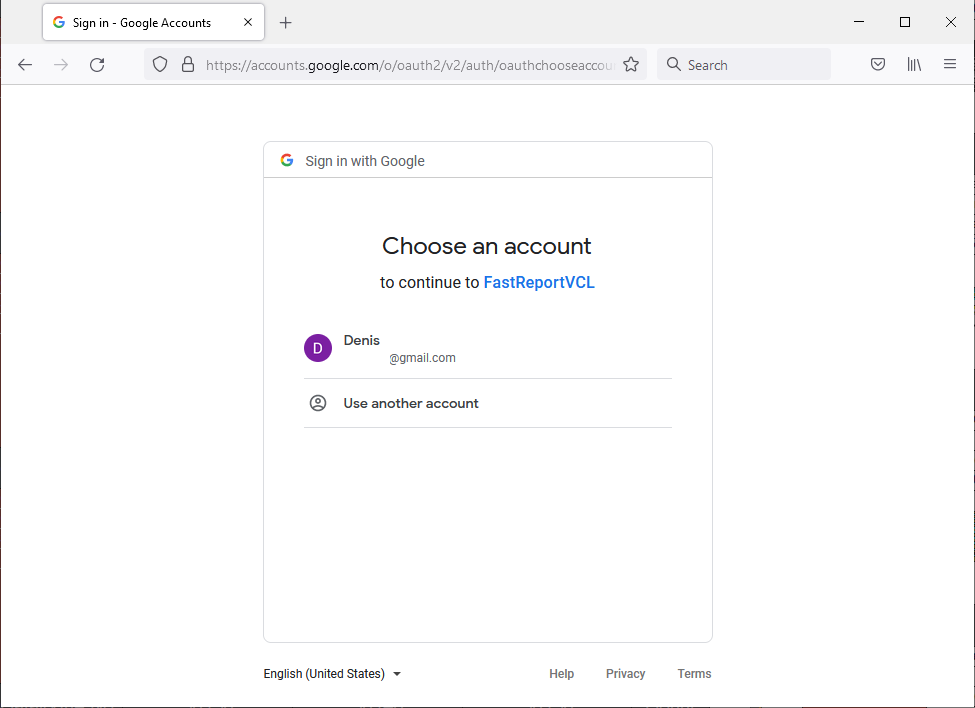
Push the “Ok” button. Now we will see a new tab in the default web browser. Select an account for authorization.
Next warning about the unsafe application may appear. Hit the “Advanced” and Go to Name of Application (unsafe).

Another access dialog will be shown. Select access rights and push the “Continue” button.
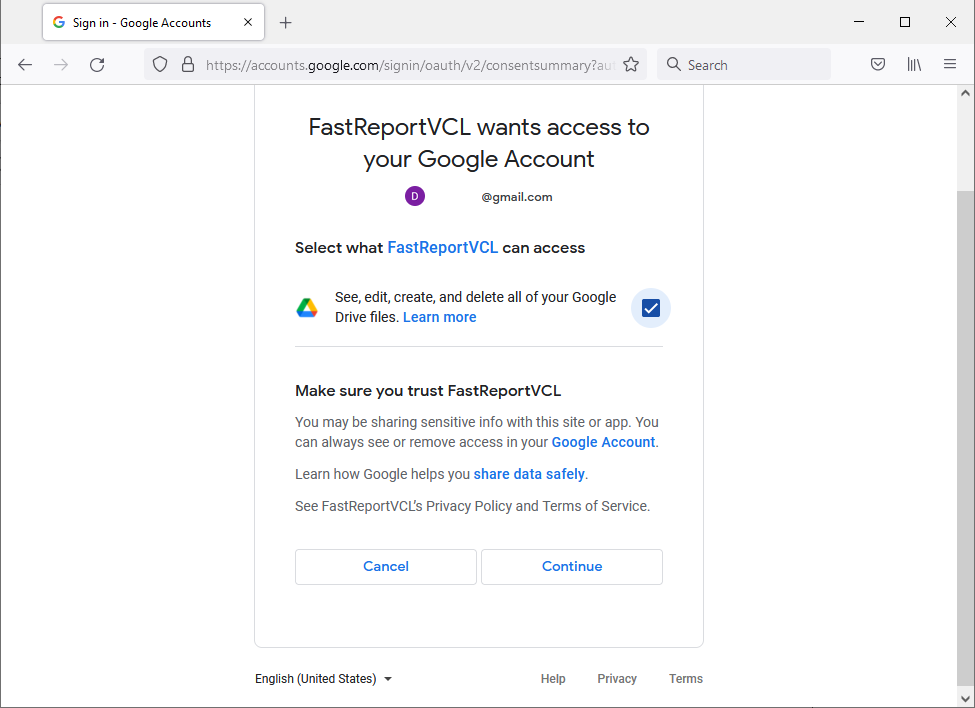
Now you can close the web browser window.
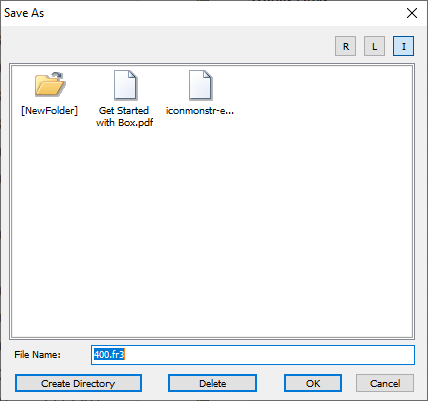
When the connection was successful FastReport VCL default file explorer will appear.

Connection to Box
The standard authorization dialog is the same for all transport filters and you can use descriptions from the above. Let’s move to the setup properties of Box. You can call it by using the button with a question sign.
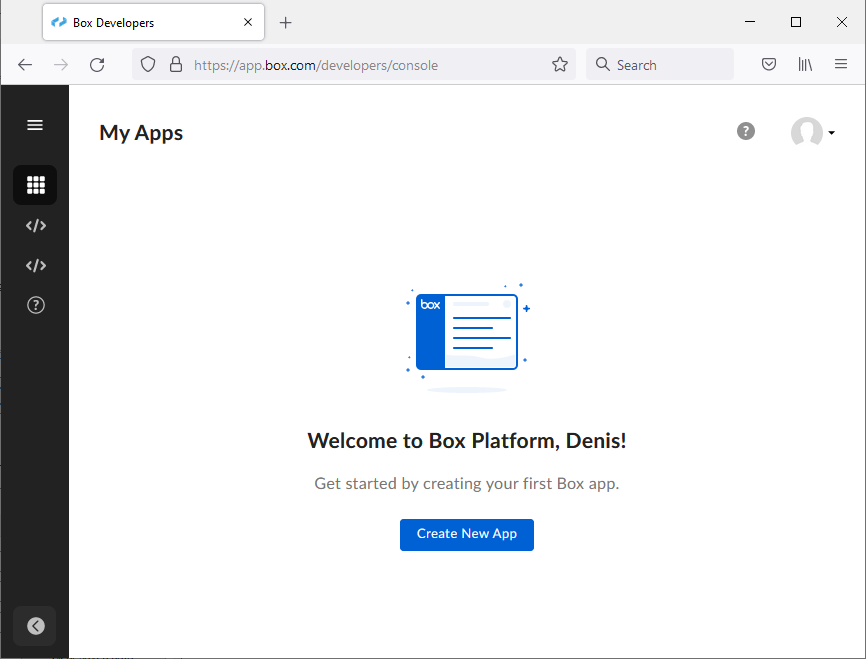
Hit the “Create New App” button.

Then select an application type. We are using “Custom App”. Next set an authorization method and name of the application.
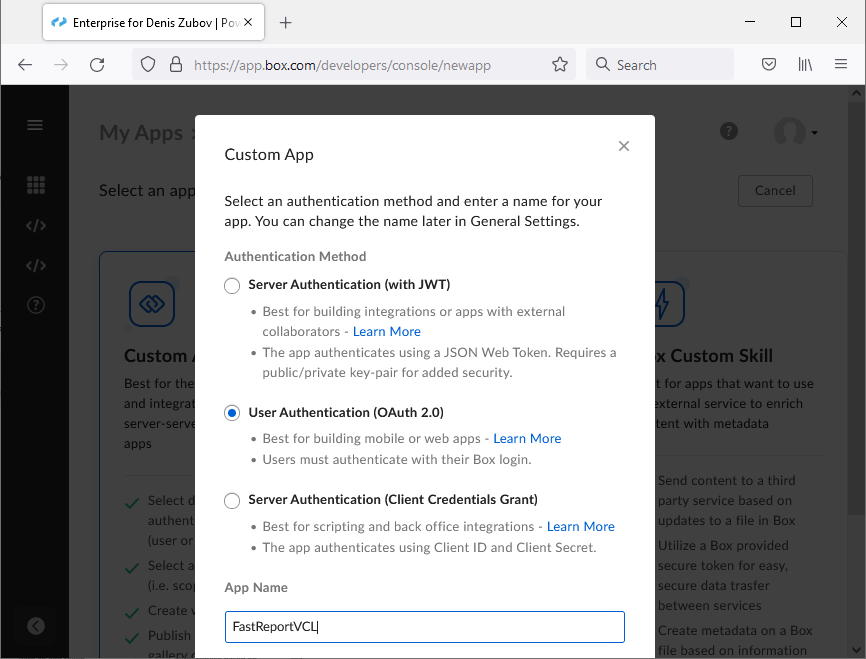
Select “OAuth 2.0” and enter the application name. Push the “Create App”. Then Scroll down next page with configuration settings to the “Client ID” field.
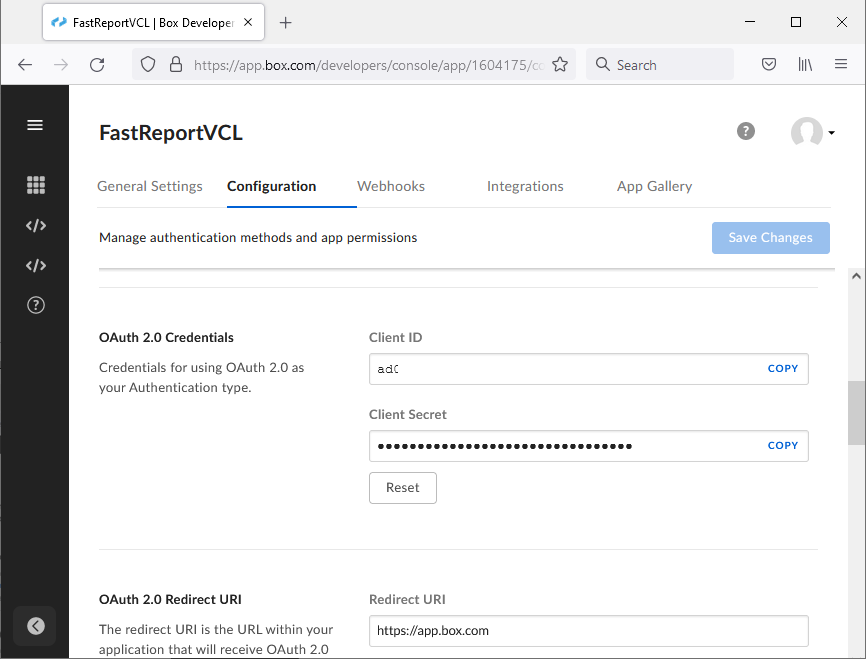
Copy values of “Client ID” and “Client Secret” fields to the same fields on the FastReport VCL authorization dialog.
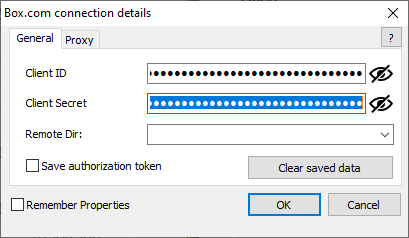
Go back to the web browser with the settings page.

Fill the “OAuth 2.0 Redirect URI” field with this link http://localhost:9898.
Pay attention, the port in the hyperlink should be the same value as the ListenerPort property of the transport component.
Set “Write all files and folders stored in Box” checkbox if you need write access rights.

Push the “Save Changes” button.
Go back to the FastReport VCL dialog and hit “Ok”.

A new window will be shown with suggestions to login. After authorization hit “Grant access to Box”.
When the connection was successful FastReport VCL default file explorer will appear.
Connection to OneDrive
The first step is the same. You can check it in the Connection to Dropbox part above. Let’s open Microsoft Azure settings.
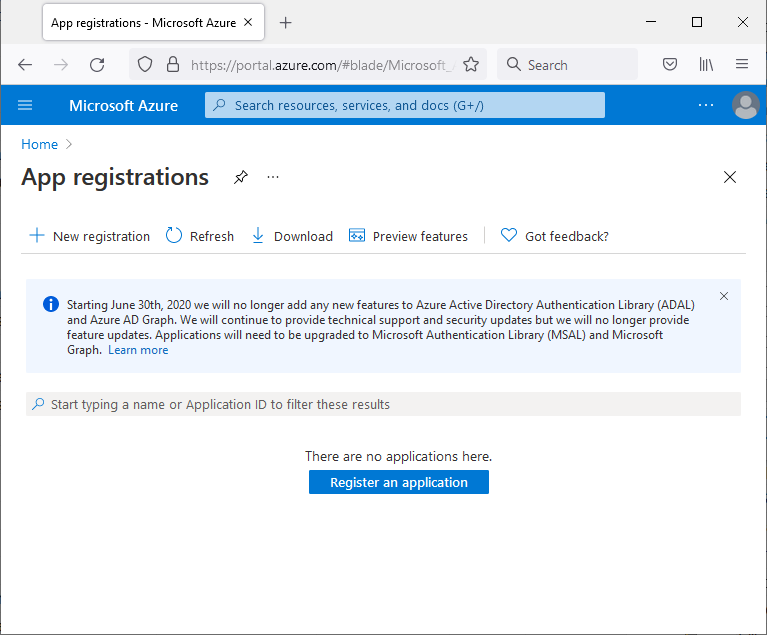
First of all, we need a new application. Push the “Register an application” button. On the next step enter the application name and Redirect URI (bottom of the page).

Push the “Register” button. It will create the application.
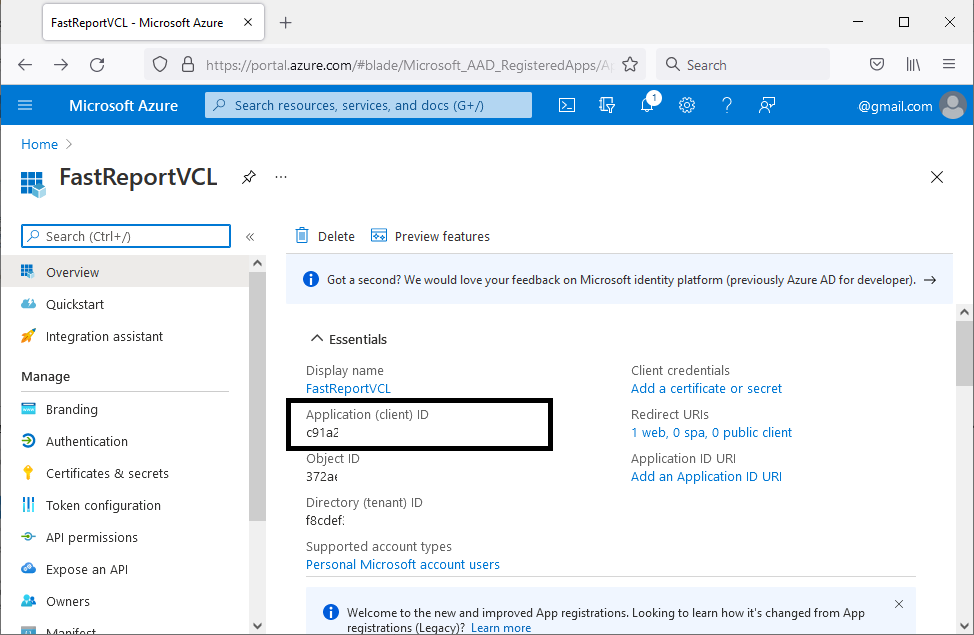
Now copy “Client ID” into the FastReport VCL authorization dialog. Open the “Certificates & secrets” category.

Hit “New client secret”.

Enter a description and expiration time. Hit “Add”.

Now copy secret from the “Value” field into the FastReport VCL authorization dialog.

Push the “Ok” button. New window with default web browser will be shown with suggestions to log on.
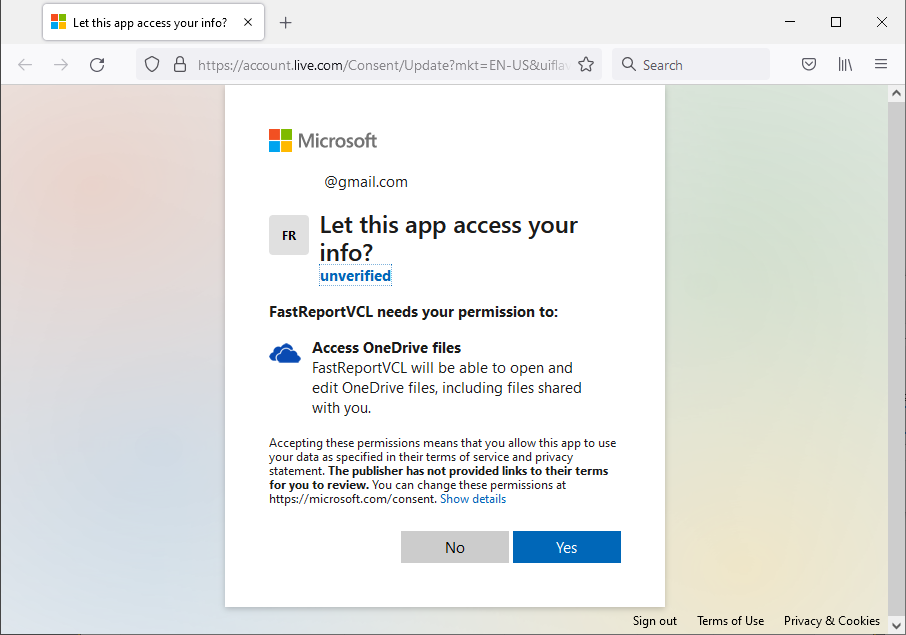
After authorization hit click “Yes”.

We have finished the connection setup. Now we know how to connect to each of could storages supported by FastReport VCL.