Creating a PDF report in JetBrains Rider (C#) in Windows 11
In this article, we'll take a look at the world of the .NET platform in Windows 11 without using Microsoft Visual Studio and create a report that can be exported to PDF. The analog of Visual Studio is, of course, JetBrains Rider. It is a cross-platform .NET IDE developed by JetBrains. It supports C#, VB.NET, and F# languages.
We are not going to discuss here which IDE is better or worse. So, let's just create, build, and export a PDF report/document from JetBrains Rider using FastReport .NET.
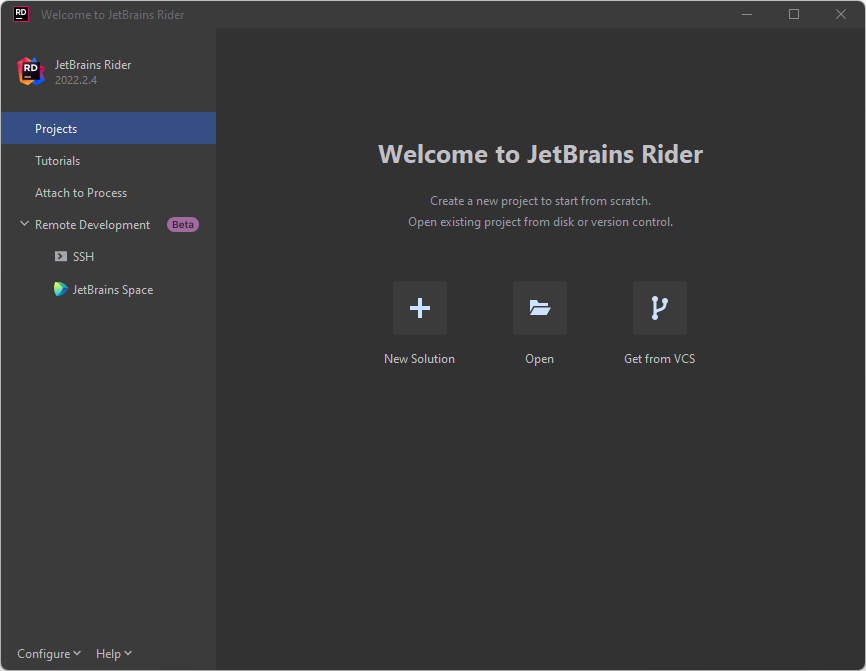
What do you need to get started? At least, you need to have the JetBrains Rider IDE installed on your PC. Next, create a new solution by selecting "New Solution".
The next step is to set up the project. Select the Desktop Application project type in the .NET/ .NET Core section. Then we give a name to the project, we will use "ReportPDF_Core_WinFormsApp" as an example. After we click on the Windows Forms App type, C# language, NET 7.0 framework.
Let's start by adding a simple sample dataset for our report in our application code. To do this, add in Form1.cs:
using System.Data;
Next, add a private field of the Form1 class:
private DataSet _fDataSet = new DataSet();
Let's add a private CreateDataSet method, where we will create and fill in a data set:
 private void CreateDataSet()
 {
 // create simple dataset with one table
 // create simple dataset
 _fDataSet = new DataSet();
 // create a table
 DataTable table = new DataTable();
 table.TableName = "Employees";
 // adding a table to the dataset
 _fDataSet.Tables.Add(table);
 // adding data to a table
 table.Columns.Add("ID", typeof(int));
 table.Columns.Add("Name", typeof(string));

 table.Rows.Add(1, "Andrew Fuller");
 table.Rows.Add(2, "Nancy Davolio");
 table.Rows.Add(3, "Margaret Peacock");
 }
Add a call to the CreateDataSet method:
public Form1()
 {
 InitializeComponent();
 CreateDataSet();
 }
What is the fastest way to make FastReport .NET work in JetBrains Rider? To use our Fast Reports Private NuGet-server.
This article describes how to add NuGet packages after purchasing FastReport .NET. Here is a brief instruction so you don’t need to search for another article. Click on the NuGet tab at the bottom of the IDE, and click on the Sources tab.
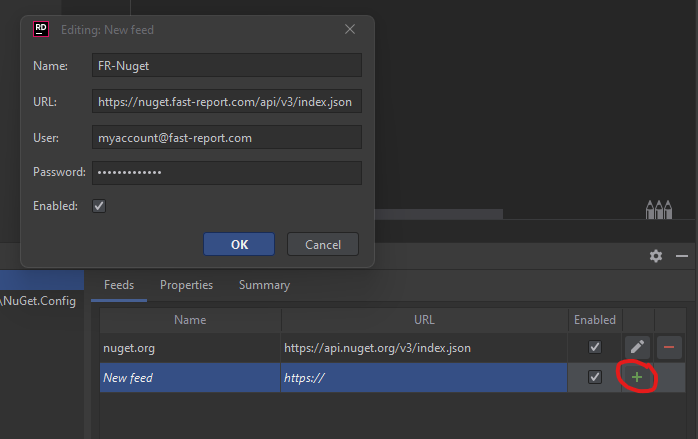
Now we add a new repository by clicking on the "+" and entering the necessary data:
- Name — source name without spaces (for example FR-Nuget);
- URL — https://nuget.fast-report.com/api/v3/index.json;
- User — email from Fast Reports account;
- Password — password from Fast Reports account.
You will see the corresponding repository:
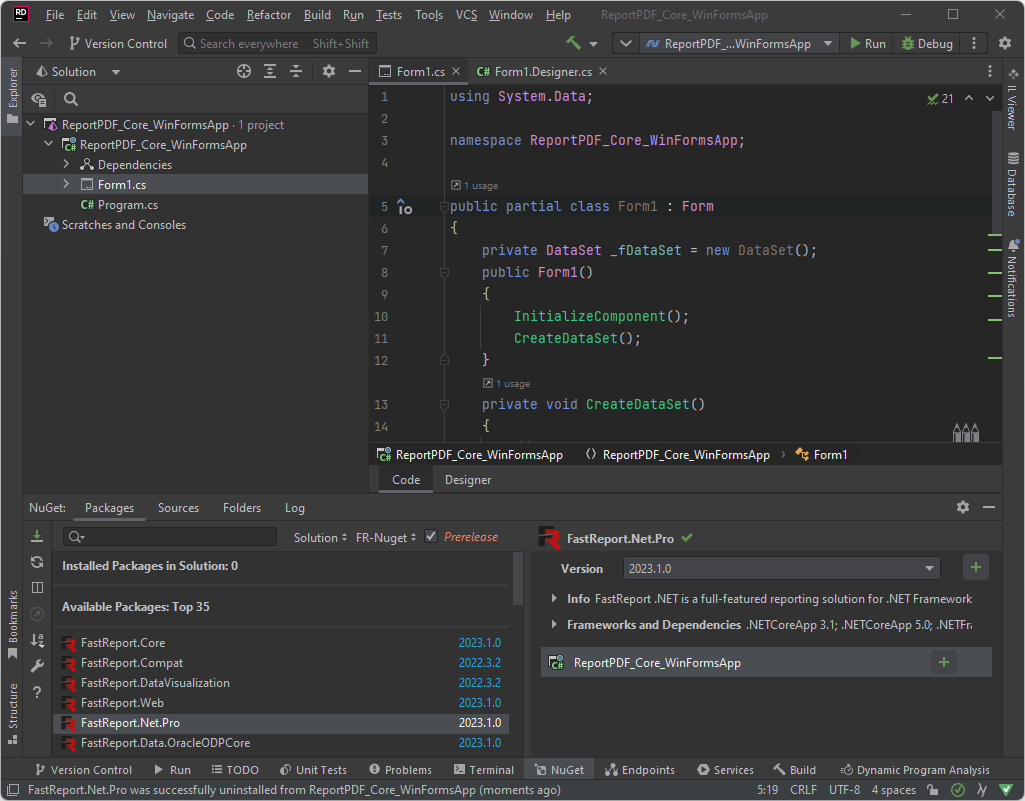
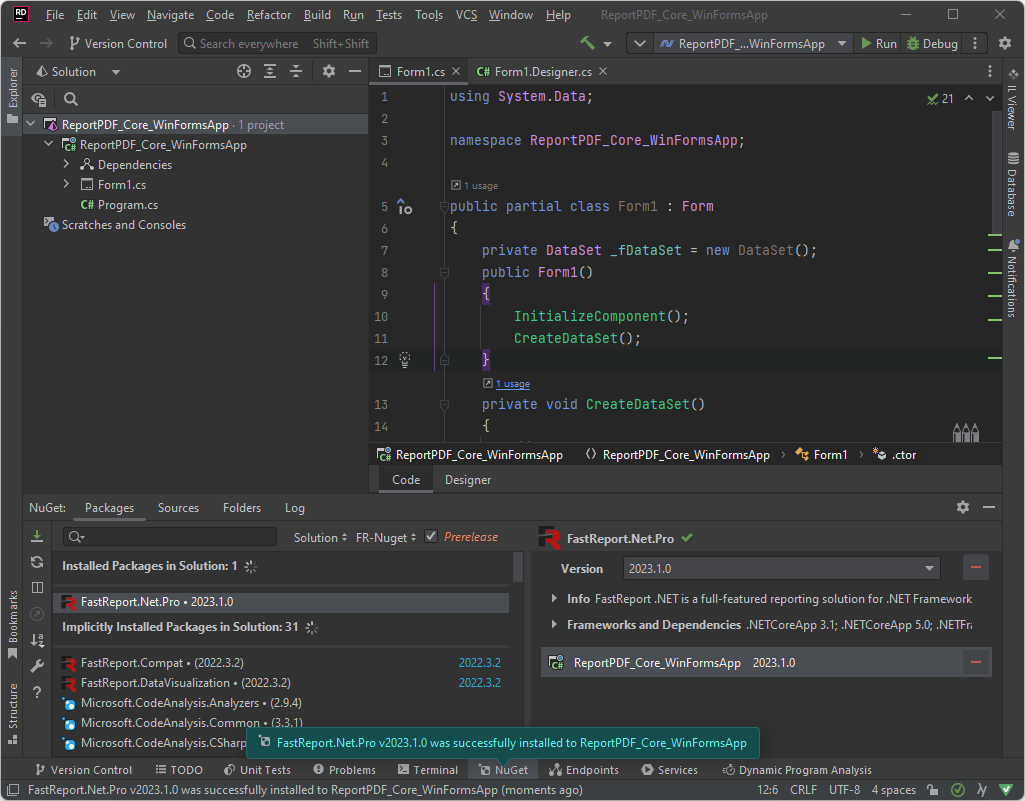
Now we will install the FastReport.Pro package. To do this, go to the Packages tab and filter the packages by the FR-Nuget repository. Of course, install the found package.
If it was successful, you will see a notification.
Next add to Form1.cs:
using FastReport;
using FastReport.Export.Pdf;
Next, we will insert 3 new buttons into the application: "Report design", "Export to PDF with dialog", "Silent export". To do this, make the appropriate changes to Form1.Designer.cs:
 // <summary>
 // Required method for Designer support - do not modify
 // the contents of this method with the code editor.
 // </summary>
 private void InitializeComponent()
 {
 this.components = new System.ComponentModel.Container();
 this.AutoScaleMode = System.Windows.Forms.AutoScaleMode.Font;
 this.ClientSize = new System.Drawing.Size(800, 450);
 this.Text = "Form1";
 this.btnExportWithDialog = new System.Windows.Forms.Button();
 this.btnSilentExport = new System.Windows.Forms.Button();
 this.btnShowDesigner = new System.Windows.Forms.Button();
 this.SuspendLayout();
 //
 // btnExportWithDialog
 //
 this.btnExportWithDialog.Location = new System.Drawing.Point(44, 148);
 this.btnExportWithDialog.Name = "btnExportWithDialog";
 this.btnExportWithDialog.Size = new System.Drawing.Size(208, 23);
 this.btnExportWithDialog.TabIndex = 0;
 this.btnExportWithDialog.Text = "Export to PDF with dialog";
 this.btnExportWithDialog.UseVisualStyleBackColor = true;
 this.btnExportWithDialog.Click += new System.EventHandler(this.btnExportWithDialog_Click);
 //
 // btnSilentExport
 //
 this.btnSilentExport.Location = new System.Drawing.Point(44, 180);
 this.btnSilentExport.Name = "btnSilentExport";
 this.btnSilentExport.Size = new System.Drawing.Size(208, 23);
 this.btnSilentExport.TabIndex = 0;
 this.btnSilentExport.Text = "Silent export";
 this.btnSilentExport.UseVisualStyleBackColor = true;
 this.btnSilentExport.Click += new System.EventHandler(this.btnSilentExport_Click);
 //
 // btnShowDesigner
 //
 this.btnShowDesigner.Location = new System.Drawing.Point(44, 87);
 this.btnShowDesigner.Name = "btnShowDesigner";
 this.btnShowDesigner.Size = new System.Drawing.Size(208, 23);
 this.btnShowDesigner.TabIndex = 1;
 this.btnShowDesigner.Text = "Report design";
 this.btnShowDesigner.UseVisualStyleBackColor = true;
 this.btnShowDesigner.Click += new System.EventHandler(this.btnShowDesigner_Click);
 //
 // Form1
 //
 this.AutoScaleDimensions = new System.Drawing.SizeF(6F, 13F);
 this.AutoScaleMode = System.Windows.Forms.AutoScaleMode.Font;
 this.ClientSize = new System.Drawing.Size(292, 266);
 this.Controls.Add(this.btnShowDesigner);
 this.Controls.Add(this.btnSilentExport);
 this.Controls.Add(this.btnExportWithDialog);
 this.Font = new System.Drawing.Font("Tahoma", 8.25F, System.Drawing.FontStyle.Regular, System.Drawing.GraphicsUnit.Point, ((byte)(204)));
 this.Name = "Form1";
 this.Text = "ExportToPDF";
 this.ResumeLayout(false);
 }
 #endregion
 private System.Windows.Forms.Button btnExportWithDialog;
 private System.Windows.Forms.Button btnSilentExport;
 private System.Windows.Forms.Button btnShowDesigner;
Let's write a click handler for the "Report design" button using this code.
 private void btnShowDesigner_Click(object sender, EventArgs e)
 {
 // create report instance
 Report report = new Report();
 // load the existing report
 //report.Load(@"..\..\..\Report.frx");
 // register the dataset
 report.RegisterData(_fDataSet);
 report.GetDataSource("Employees").Enabled = true;
 // run the designer
 report.Design();
 // free resources used by report
 report.Dispose();
 }
Run the application and look at our form with 3 buttons.
Click on the "Report design" button and go to the FastReport .NET designer.
Let's add fields from the dataset to the report template using drag and drop, and then add the "Employees" heading to the report. After that, set AutoWidth = true property for the text objects.
Let's save our report template with the "Report" name in the folder with the ReportPDF_Core_WinFormsApp project. After saving, close the designer and application. Let's uncomment the line in the btnExportWithDialog_Click method to make our saved report load when the designer is opened:
report.Load(@"..\..\..\Report.frx");
Add a click handler for the "Export to PDF" button with a dialog box:
 private void btnExportWithDialog_Click(object sender, EventArgs e)
 {
 // create report instance
 Report report = new Report();
 // load the existing report
 report.Load(@"..\..\..\Report.frx");
 // register the dataset
 report.RegisterData(_fDataSet);
 // run the report
 report.Prepare();
 // create export instance
 PDFExport export = new PDFExport();
 export.Export(report);
 // free resources used by report
 report.Dispose();
 }
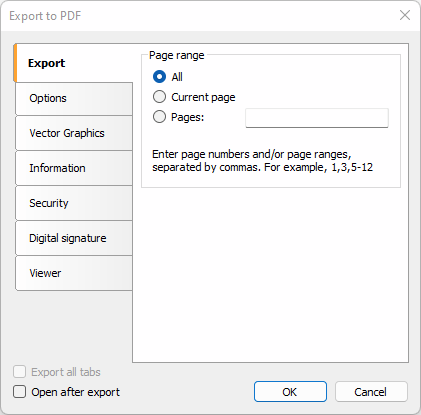
Run the project and click on the "Export to PDF with dialog box" button:
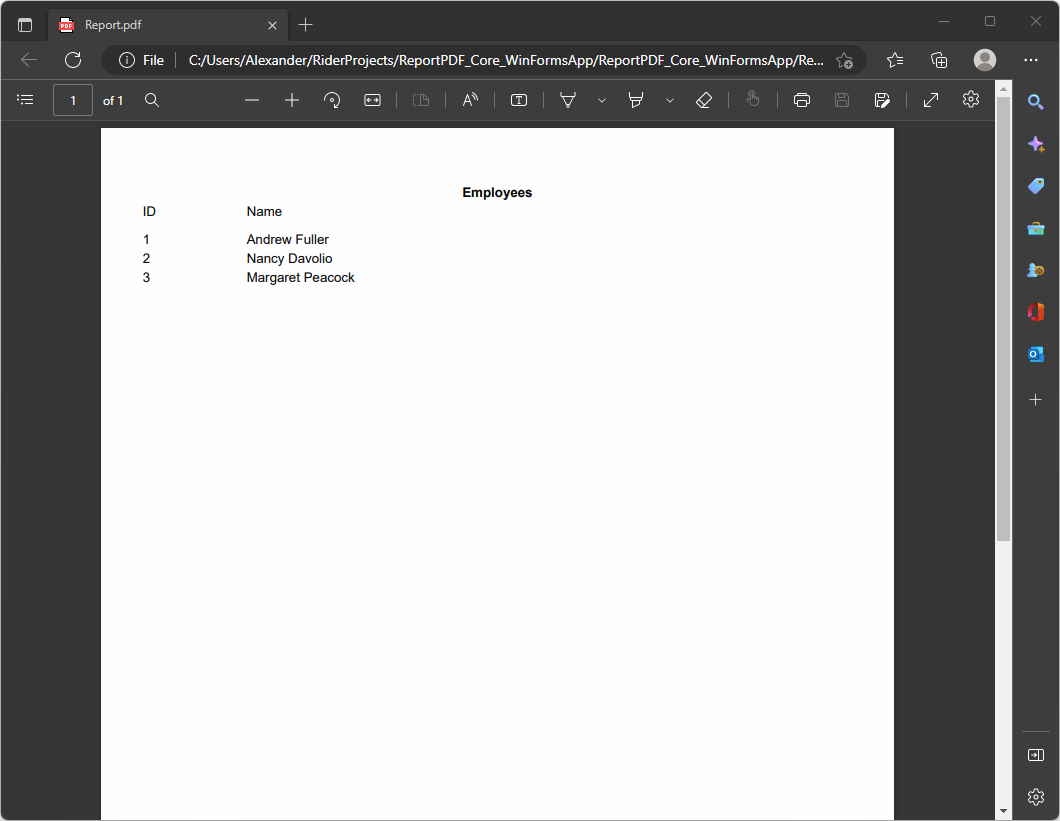
A dialog box with PDF export settings will open. Select "Open after export" and click on "OK". Save to a PDF project folder called "Report". After the export is completed, the PDF file will open automatically:
Thus, we got a simple report/PDF document built from a dataset.
Let’s also check the option of the so-called “silent” PDF export without dialog boxes. Add a click handler for the "Silent export" button:
 private void btnSilentExport_Click(object sender, EventArgs e)
 {
 // create report instance
 Report report = new Report();
 // load the existing report
 report.Load(@"..\..\..\Report.frx");
 // register the dataset
 report.RegisterData(_fDataSet);
 // run the report
 report.Prepare();
 // run the report
 PDFExport export = new PDFExport();
 // opening after export
 export.OpenAfterExport = true;
 // export the report
 report.Export(export, "Result.pdf");
 // free resources used by report
 report.Dispose();
 }
Run the project and click on the "Silent export" button. It will export instantly and a PDF file called "Result" will open, which is next to the exe of the running project:
In this article, we have reviewed the pull of JetBrains Rider (C#) + .NET Core + WinForms + FastReport .NET + Windows 11 and received a PDF report built from a dataset. And of course, we made sure that it is easy to use the .NET platform without Microsoft Visual Studio.

