Interactive web report in MVC
In this article we will look at how to create interactive web reports. These reports allow you to move to detailed reports or other pages using hyperlinks. These reports increase the usability of the reporting. It is much easier to view detailed information based on the context of the main report, than to seek this information manually.
To start, we need to create a report. We will display a list of product categories. A detailed report with a list of items for the selected category will be created when you click on any category.
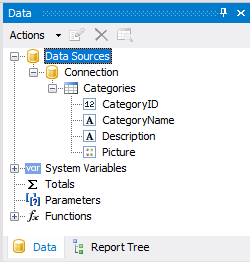
So, a basic report - the list of categories. Create a report template. I used the database xml from FastReport.Net delivery. Table Categories:
Create the following template:
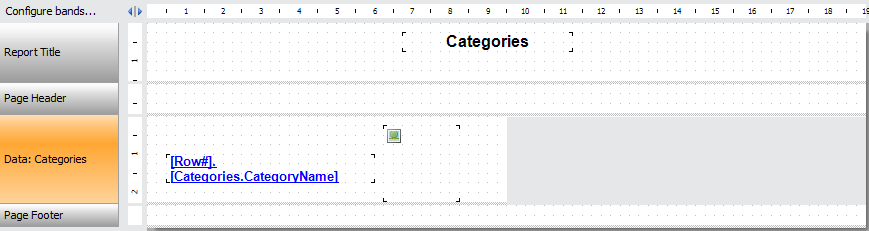
I set the property Columns->Count in the data band to 2. Now the data will be displayed in two columns. We will display a category name and a picture.
Our goal is to display a detailed list of the products for the category. So now we create a detailed report to display a list of products.
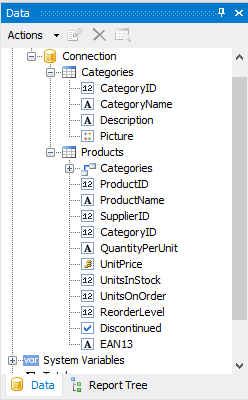
Create a new report. From the same database table, select Products and Categories. Bind the Products table and Categories by the CategoryID field:
And create report template:

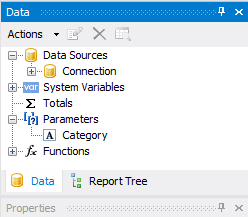
To display the items for desired category you need to filter them. To filter we will use the CategoryID field. It is necessary to pass a parameter (category ID) from the first to the second report. To do this, create a report parameter - Category. Data type String.
Now create a filter for the band "data." Double-click the band and choose the tab "Filter":
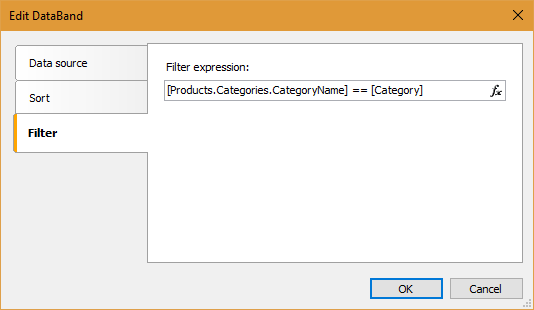
The filter expression is just checked CategoryID field equal to the value of the parameter Category. Save the report.
Now back to the first report with the categories.
To move to detailed reports you need to create a hyperlink to the CategoryName field.
Select Categories.CategoryName field on the band "data." In the Property inspector, find the Hyperlink property and open the Hyperlink editor. Select the tab "detailed report":
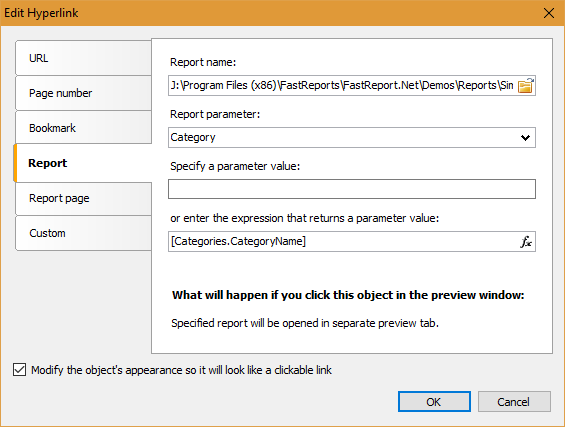
Here we choose a detailed report that you created earlier. Then, choose the report parameter Category, to which we give the value from the main report. Finally, we set the expression from which will be taken a value for the Category. This expression - CategoryID field from the Categories table. Enable the checkbox "Modify the object’s appearance so it will look like a clickable link" at the bottom of the form.
That's it, save the report. We now have the main report with categories and the detailed report with products.
Create an ASP.Net MVC project.
Connect the libraries to the project: FastReport.dll, FastReport.Web.dll.
Place your report on the Home page. We will work with WebReport component in the class HomeController (from Controllers folder).
Add the libraries:
1 2 |
using FastReport.Web; using System.Web.UI.WebControls; |
Add the following code to the Index () method:
1 2 3 4 5 6 7 8 9 10 11 |
public ActionResult Index() { WebReport webReport = new WebReport(); //create instance of WebReport object. string report_path = "J:\\Program Files (x86)\\FastReports\\FastReport.Net\\Demos\\Reports\\"; //reports directory System.Data.DataSet dataSet = new System.Data.DataSet(); //create data set dataSet.ReadXml(report_path + "nwind.xml"); //load xml data base webReport.Report.RegisterData(dataSet, "NorthWind"); //registry data source in the web report webReport.Report.Load(report_path + "Simple Interactive.frx"); //load the report to WebReport ViewBag.WebReport = webReport; //send the report to View return View(); } |
Go to the view Index.cshtml:

I removed all the code that was by default, and add my own. It will be displayed only the page title and the web report:
1 2 3 4 |
@{ ViewBag.Title = "Home Page"; } @ViewBag.WebReport.GetHtml() |
The index method will give a report from the controller HomeController to the view Index.
It is necessary to connect scripts in _Layout.cshtml file:
1 2 3 4 |
<head> @WebReportGlobals.Scripts() @WebReportGlobals.Styles() </head> |
Now you need to make changes in two web config files. The files have the same name but are located in different folders. The first - is located in the Views folder. Add to it:
1 2 3 4 5 |
<namespaces> … <add namespace="FastReport" /> <add namespace="FastReport.Web" /> </namespaces> |
The second file is located in the project root. Add a handler to it:
1 2 3 4 5 6 |
<system.webServer> <handlers> … <add name="FastReportHandler" path="FastReport.Export.axd" verb="*" type="FastReport.Web.Handlers.WebExport"/> </handlers> </system.webServer> |
That's all! Run the application.
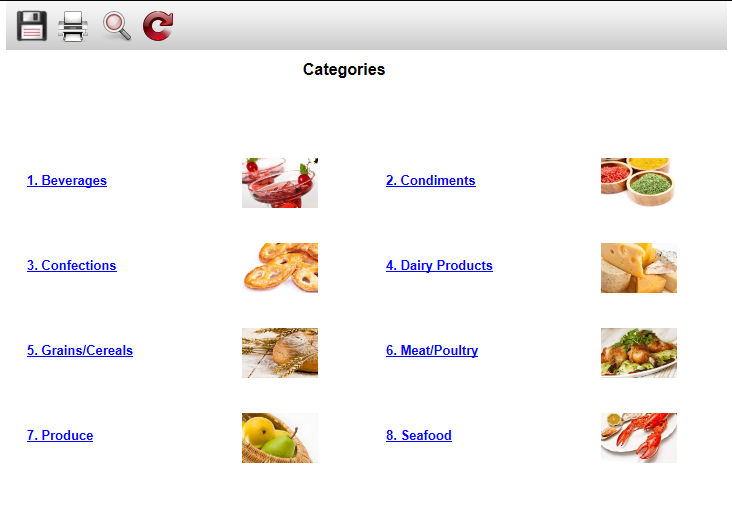
Our main report with categories. Choose any of them.
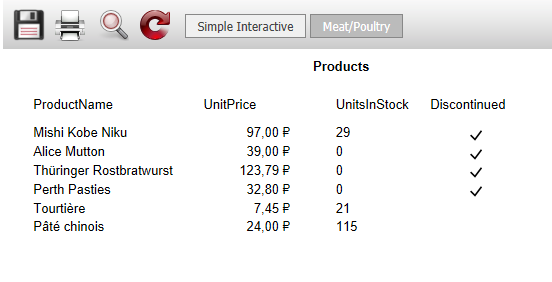
It displays a detailed report. Please note that there is a new tab in the toolbar. You can switch to the main report using the Simple Interactive tab.
Thus, we can use the popular online reports in the Web, as well as in desktop applications.