How to use the Online Designer in an Angular single-page application
In this article we will look at the way to use FastReport Online Designer in a single-page application based on the Angular framework and ASP .NET Core. Due to the fact that the backend of this SPA application is implemented on ASP .NET Core, we can easily use the FastReport libraries. There remains only one question: how to display the web report object in the Angular client application.
You probably know that the Angular framework in the first version was implemented in JavaScript. All subsequent versions are written in TypeScript. Now the first version of Angular is called AngularJS, while others have a digital index: 2, 3, ... 7. We will create a demo application based on Angular 7.
Before we start developing, let's prepare the environment. You need to install the Node js platform. It will enable JavaScript on the server side. Download the distribution from the manufacturer’s website https://nodejs.org/en/ and install. Node js includes the NPM package manager, which allows us to install the necessary libraries written in JavaScript using console commands. And also, you must have .Net Core SDK 2.0 and higher installed.
To quickly create a demo application, use the Windows command prompt. We start cmd and we pass to the directory in which we want to create the project. And we execute the command:
dotnet new angular -o AngularOnlineDesignerFRCore
Next, we need an online designer. We download it from the client section www.fast-report.com. Let me remind you that you first need to assemble a fresh build of an online designer in the designer for the .Net Core framework

Open our project in Visual Studio. After downloading the archive with the online designer, unzip it to the wwwroot folder in the project.
Now we will add the FastReport libraries to the project using the NuGet package manager. In the upper right corner of the manager there is a drop-down list of package sources. We need a local source. But you need to configure it. To do this, click on the icon in the form of a gear next. Next, select the local source and set for it the path to the directory on the local disk:
C: \ Program Files (x86) \ FastReports \ FastReport.Net \ Nugets. After completing the settings, install two available packages: FastReport.Core and FastReport.Web.
To use FastReport in your project, you also need to add the following line to the Sturtup.cs file, in the specified method:
1 2 3 4 5 6 |
public void Configure(IApplicationBuilder app, IHostingEnvironment env) { … app.UseFastReport(); … } |
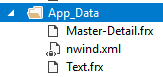
To upload reports to the designer, we need to add the necessary report templates to the server. To do this, create the App_Data folder in the project root. Add a couple of report templates from FastReport.Net delivery, Demos / Reports folder. Also, copy the nwind.xml data file from this folder:
Now we can start programming. We have one controller - SampleDataController. Since we created a demo application with sample pages, we have unnecessary elements in the controller and in the client. Let's remove all methods from the SampleDataController.cs controller and add our own.
1 2 3 4 5 6 7 8 9 10 11 12 13 14 15 16 17 18 19 20 21 22 23 24 25 26 27 28 29 30 31 32 33 34 35 36 37 38 39 40 41 42 43 44 |
using System; using Microsoft.AspNetCore.Mvc; using FastReport.Web; using System.IO; namespace AngularOnlineDesignerFRCore.Controllers { [Route("api/[controller]")] public class SampleDataController : Controller { [HttpGet("[action]")] public IActionResult Design(string report) { WebReport WebReport = new WebReport(); WebReport.Width = "1000"; WebReport.Height = "1000"; WebReport.Report.Load("App_Data/"+report+".frx"); // Load the report into the WebReport object System.Data.DataSet dataSet = new System.Data.DataSet(); // Create a data source dataSet.ReadXml("App_Data/nwind.xml"); // Open the xml database WebReport.Report.RegisterData(dataSet, "NorthWind"); // Registering the data source in the report WebReport.Mode = WebReportMode.Designer; // Set the web report object mode - designer display WebReport.DesignerLocale = "en"; WebReport.DesignerPath = @"WebReportDesigner/index.html"; // We set the URL of the online designer WebReport.DesignerSaveCallBack = @"api/SampleData/SaveDesignedReport"; // Set the view URL for the report save method WebReport.Debug = true; ViewBag.WebReport = WebReport; // pass the report to View return View(); } [HttpPost("[action]")] // call-back for save the designed report public IActionResult SaveDesignedReport(string reportID, string reportUUID) { ViewBag.Message = String.Format("Confirmed {0} {1}", reportID, reportUUID); // We set the message for representation Stream reportForSave = Request.Body; // Write the result of the Post request to the stream. string pathToSave = @"App_Data/TestReport.frx"; // get the path to save the file using (FileStream file = new FileStream(pathToSave, FileMode.Create)) // Create a file stream { reportForSave.CopyTo(file); // Save query result to file } return View(); } } } |
The first Design method takes the report parameter, which is the name of the report to load. We create the report object, load the report template into it and connect the data source. Next, turn on the design mode for the report object, set the path to the designer’s online page and the path to the report saving method.
The second method is a callback to save the report. By clicking on the Save button in the designer, we initiate a save event that will trigger this call-back. In this method, we implemented saving the report file on the server as TestReport.
For these methods, you need to create views. But in our project there is no Views folder. Let's create it at the root of the project. Inside it, you need to create another folder - SampleData. Here we add views to it. First for the Design method. The file is called in the same way, and its contents are very succinct:
1 |
@await ViewBag.WebReport.Render();
|
We simply output the web report object. Render method converts it to html. Add another view for the SaveDesignedReport method:
1 |
@ ViewBag.Message
|
This view displays a status message for the save report event.
At this stage server side programming can be considered as complete. Go to the frontend.
Everything that relates to a one-page application is located in the ClientApp directory. Deploy it to the solution browser. Inside we are interested in the src folder, and then the app.
For displaying the main page component app.component.ts is responsible. We are going to edit it:
1 2 3 4 5 6 7 8 9 10 |
import { Component } from '@angular/core'; @Component({ selector: 'app-root', templateUrl: './app.component.html', styleUrls: ['./app.component.css'], }) export class AppComponent { } |
But first, consider the page template in the app.component.html file:
1 2 3 4 5 6 7 8 9 10 11 12 13 14 15 16 |
<div class='container-fluid'> <div class='row'> <div> <input type="radio" id="reportChoice1" name="report" value="Text" (click)="this.report = 'Text'"> <label for="reportChoice1">Text</label> <input type="radio" id="reportChoice2" name="report" value="Master-Detail" (click)="this.report = 'Master-Detail'"> <label for="reportChoice2">Master-Detail</label> </div> <div> <input type="button" (click)="Clicked()" value="Show Online Designer" /> <div *ngIf="flag" [innerHTML]="html | safeHtml"></div> </div> </div> </div> |
The first thing you notice is the radio buttons. Using them, we will select one of the two reports that need to be opened in the online designer. Radio buttons are subscribed to the event (click). This event sets the value of the variable report. We will talk about it when finalizing the application component.
Next is the button, which is also subscribed to the click event. The Clicked () function is called by this event. The next div has a condition - if the flag variable is true, then display the nested html code, which we take from the html variable. But pay attention to the safeHtml function, which we applied to the html variable through the pipe |. This function normalizes html code, making it safe and suitable for embedding in the DOM.
We have to implement this feature. To do this, create a new typescript file in the current folder - app. Let's call it safeHtml.pipe.ts:
1 2 3 4 5 6 7 8 9 10 |
import { PipeTransform, Pipe } from '@angular/core'; import { DomSanitizer } from '@angular/platform-browser'; @Pipe({ name: 'safeHtml' }) export class SafeHtmlPipe implements PipeTransform { constructor(private sanitized: DomSanitizer) { } transform(value) { return this.sanitized.bypassSecurityTrustHtml(value); } } |
The DomSanitizer library does all the work for us, you just need to give the html code to the bypassSecurityTrustHtml method.
Let's go back to the application component. We implement the Clicked () function in it:
1 2 3 4 5 6 7 8 9 10 11 12 13 14 15 16 17 18 19 20 |
import { Component } from '@angular/core'; import { HttpClient } from "@angular/common/http"; @Component({ selector: 'app-root', templateUrl: './app.component.html', styleUrls: ['./app.component.css'], providers: [HttpService] }) export class AppComponent { html: string; flag: boolean; report: string; constructor(private http: HttpClient){ } Clicked() { this.flag = false; this.http.get('api/SampleData/Design?report='+report, { headers: { 'Accept': 'text/html' }, responseType: 'text' as 'text' }).).subscribe((data: string) => { this.html = data; this.flag = true }); } } |
We added a class constructor that accepts HttpClient. We need it to fulfill the get request. The Clicked () function sets the default value of the flag variable. Next, it performs a get request to the Design controller method. The name of the report from the variable report is passed as a parameter. If the get request received a successful response, then the flag variable is set to true. This will display the div that the report designer will display.
But, it would be good practice to make a request from a component to a separate service. Let's do it. Create the http.service.ts script in the current app directory:
1 2 3 4 5 6 7 8 9 10 11 |
import { Injectable } from '@angular/core'; import { HttpClient } from '@angular/common/http'; @Injectable() export class HttpService { constructor(private http: HttpClient) { } getData(report) { return this.http.get('api/SampleData/Design?report='+report, { headers: { 'Accept': 'text/html' }, responseType: 'text' as 'text' }); } } |
Now let's convert app.component.ts to use it:
1 2 3 4 5 6 7 8 9 10 11 12 13 14 15 16 17 18 19 20 21 22 |
import { Component } from '@angular/core'; import { HttpService } from "./http.service"; @Component({ selector: 'app-root', templateUrl: './app.component.html', styleUrls: ['./app.component.css'], providers: [HttpService] }) export class AppComponent { html: string; flag: boolean; report: string; constructor(private httpService: HttpService) { } Clicked() { this.flag = false; this.httpService.getData(this.report).subscribe((data: string) => { this.html = data; this.flag = true }); } } |
In order for the added modules to be loaded and available in the component, they need to be added to app.module.ts:
1 2 3 4 5 6 7 8 9 10 11 12 13 14 15 16 17 18 19 20 21 22 |
import { BrowserModule } from '@angular/platform-browser'; import { NgModule } from '@angular/core'; import { FormsModule } from '@angular/forms'; import { HttpClientModule } from '@angular/common/http'; import { AppComponent } from './app.component'; import { SafeHtmlPipe } from './safeHtml.pipe'; @NgModule({ declarations: [ AppComponent, NavMenuComponent, SafeHtmlPipe ], imports: [ BrowserModule.withServerTransition({ appId: 'ng-cli-universal' }), HttpClientModule, FormsModule ], providers: [], bootstrap: [AppComponent] }) export class AppModule { } |
Now both the service and the pipe can be used in the AppComponent.
This is enough to launch the application and display the report designer with the downloaded report. But there is one nuance. Since WebReportDesigner should be located in the wwwroot directory, it cannot use the view from the backend to handle the event of saving the report.
We will come to the rescue by client proxying to the backend. Thus, we indicate that requests must be sent to the server port, in our case, the ng server.
To configure proxying, you need to create the proxy.config.json file in the src directory:
1 2 3 4 5 6 7 |
{ "/": { "target": "http://localhost:4200/", "secure": false, "logLevel": "debug" } } |
In our case, the ng server port is 4200, but it can be different. You can learn it by running the server from the console. To do this, run the Windows command line, go to the ClientApp directory using the cd command, and run: npm start. From the text that appears next, you can see the desired port number.
Now open the package.json file in the src directory and change the following settings in it:
1 2 3 4 5 6 7 8 |
{ "scripts": { … "start": "ng serve --proxy-config proxy.config.json", "build": "ng build --prod --output-path ../AngularOnlineDesignerFRCore/wwwroot", … } |
Thus, we specified the config file for proxying and set the wwwroot folder for the ClientApp assembly.
Now you can run the application and evaluate the work done. We are expecting an almost empty page, with only these controls:
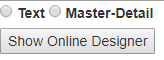
Let's select one of the two reports and click the ShowOnlineDesigner button:
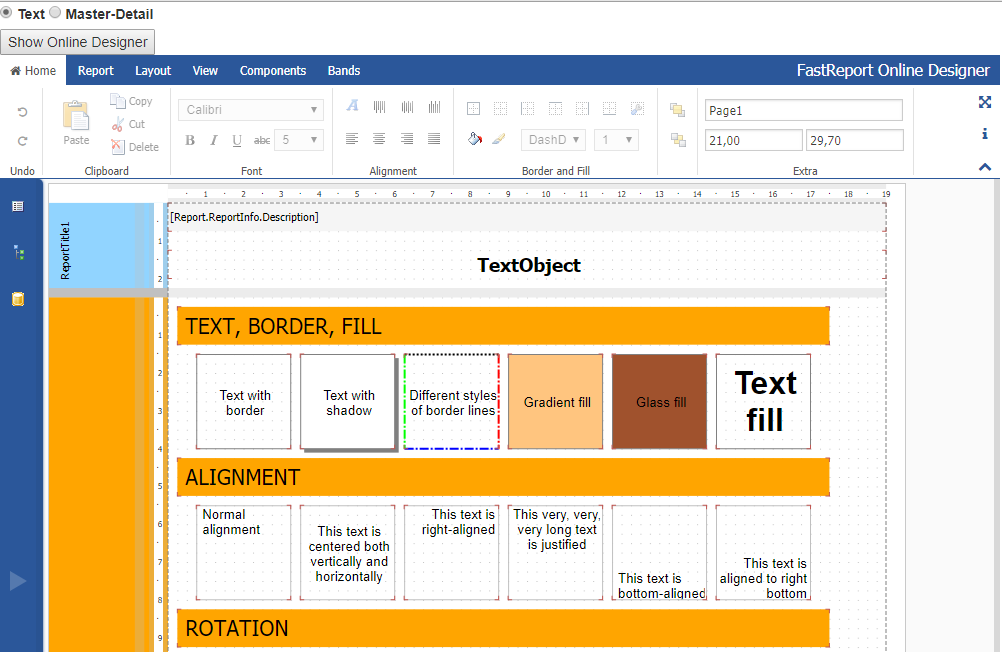
A designer appears with a loaded report. Click the Report tab and click the Save button:
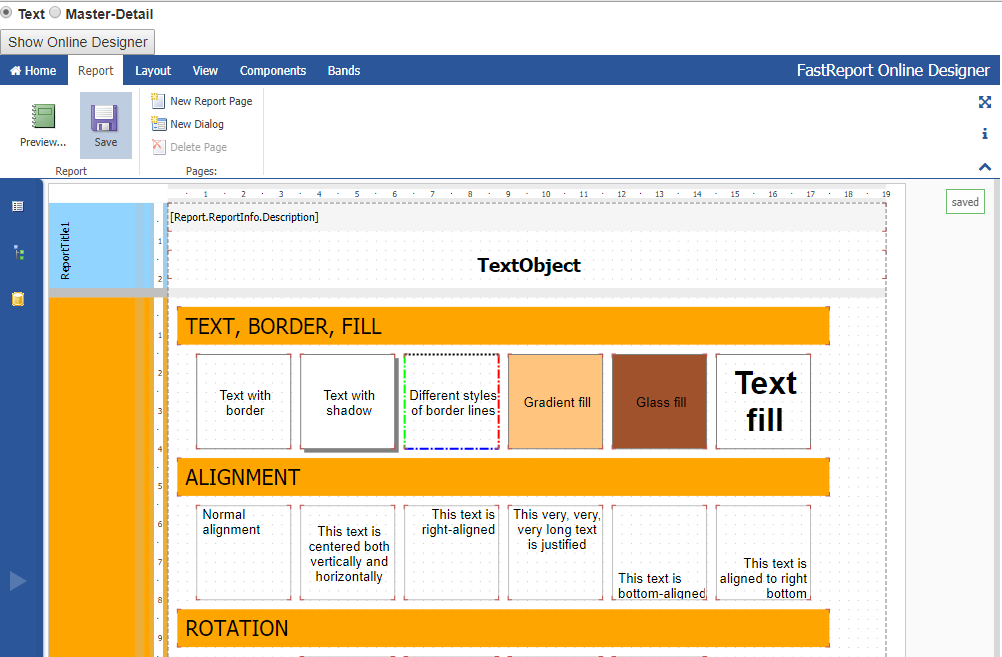
If the proxying is configured correctly, you will see the message save in the green frame on the right. The report file is saved on the server.
At this point we will assume that the work on the demonstration project has been completed. Let's summarize. Backend development is almost the same as a regular ASP .NET Core application. Revamping the front-end is also not that difficult, considering that we have generated almost all the files in one command.