How to make a report like Drill-Down
Reports with grouping are necessary for data analysis. But when there are a lot of data and there is no need to display them all, a regular report with grouping becomes cumbersome and redundant. You want to find a universal solution for such cases. And there is one.
A report with a drop-down list is essentially a report with grouping data, but with the ability to hide or display data in a group by mouse click. It is not only very convenient, but also beautiful. After all, the report becomes an interactive object. The user is pleased when he can participate in the display of information.
Consider an example of how to make such a report. First of all, as in the Master-Detail report, we need a data source with linked tables. Suppose we have two tables: customer and orders.

One customer can do many orders - one-to-many relationship. Let's add it. Click the Actions button and select New Relation from the drop-down list ...
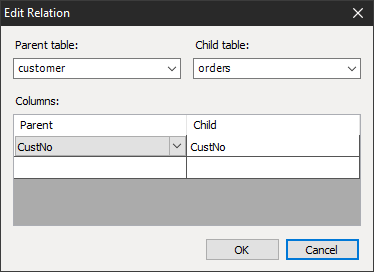
Parent table is main one, then choose ‘custome’r. Child table is respectively ‘orders’. In ‘customer’ there is a primary key CustNo. Choose it among the columns. In ‘orders’ there is a foreign key CustNo. Also choose it.
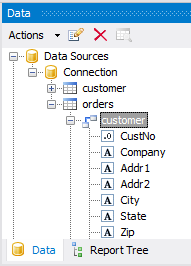
As a result, we get the connection:
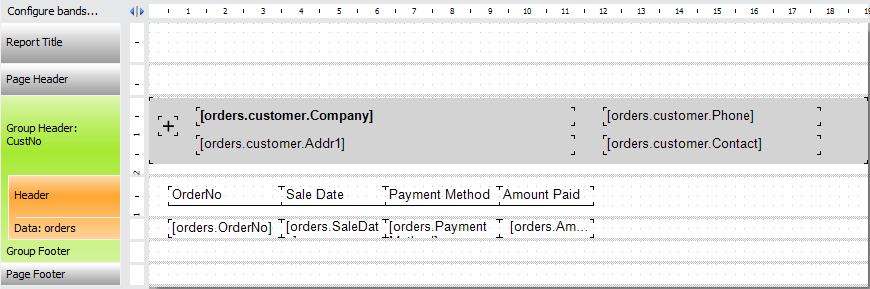
Now let's start creating the report template. Add a band "group header". On it we will place the fields from the link: “orders.customer.Company”, “orders.customer.Addr1”, “orders.customer.Phone”, “orders.customer.Contact”.
In addition to these fields, let's add a checkbox control to this band. In its CheckedSymbol property, select Plus, and in UncheckedSymbol - Minus.
Add the fields from the ‘orders’ table: OrderNo, SaleDate, PaymentMethod, AmountPaid to the “Data” band. Also, add a header band for the data and field headers:
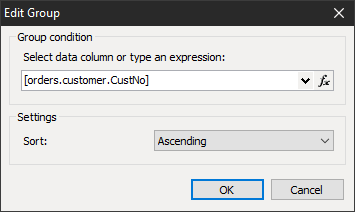
Double-click on the group title “Headline”. Select the field to group:
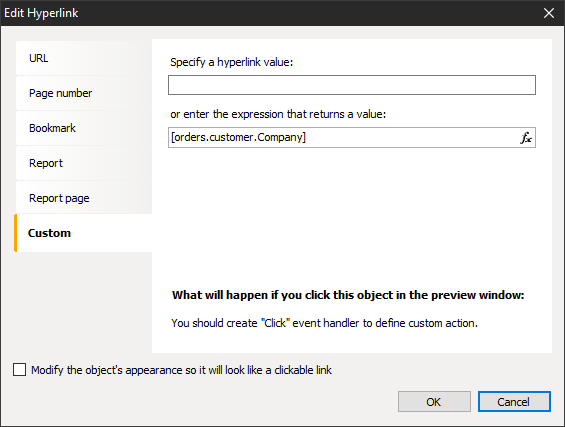
Now select the checkbox that we added earlier. Give it a Hyperlink property:
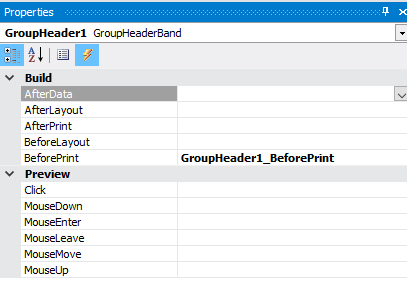
Select the "Group Header" band and create a BeforePrint event handler for it:
1 2 3 4 5 6 7 8 9 10 11 |
private void GroupHeader1_BeforePrint(object sender, EventArgs e) { string groupName = (String)Report.GetColumnValue("orders.customer.Company"); // get the group name bool groupVisible = expandedGroups.Contains(groupName); // Check group visibility DataHeader1.Visible = groupVisible; Data1.Visible = groupVisible;// Set the visibility of data in accordance with the visibility of the group GroupFooter1.Visible = groupVisible;// Set the visibility of the basement of the group in accordance with the visibility of the group CheckBox1.Checked = !groupVisible;// Set the state of the flag depending on the visibility of the group } |
Also add to the class a list of expanded groups:
1 |
private List<string> expandedGroups = new List<string>();
|
Let's return to our checkbox. For it, create a Click event handler:
1 2 3 4 5 6 7 8 9 |
private void CheckBox1_Click(object sender, EventArgs e) { string groupName = (sender as CheckBoxObject).Hyperlink.Value; // We get the name of the group from the hyperlink if (expandedGroups.Contains(groupName)) // If the list of visible groups contains the selected group expandedGroups.Remove(groupName); // Then remove the selected from the list of visible groups. else expandedGroups.Add(groupName); // Otherwise add the group to the list of visible Report.Refresh(); // Update Report } |
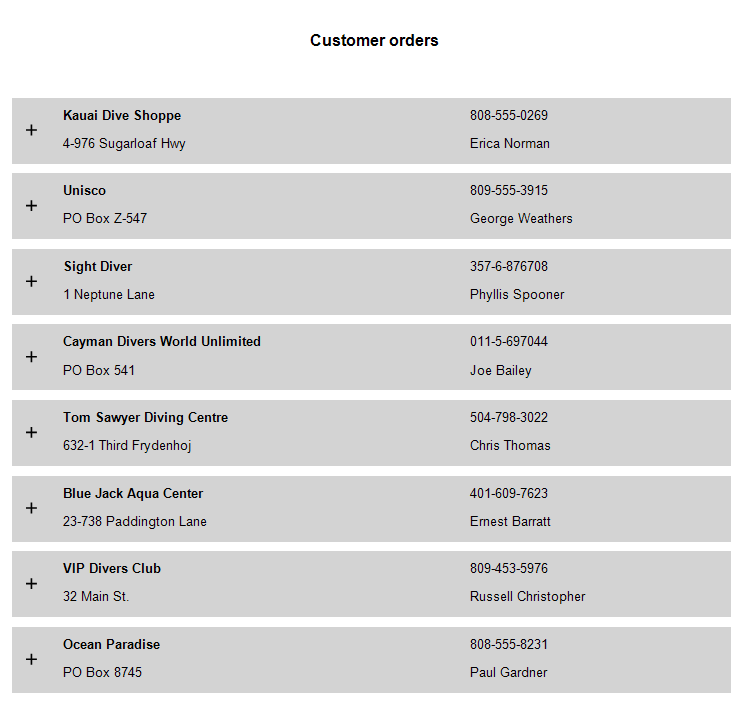
Run the report in preview mode:
Now click on any plus sign:
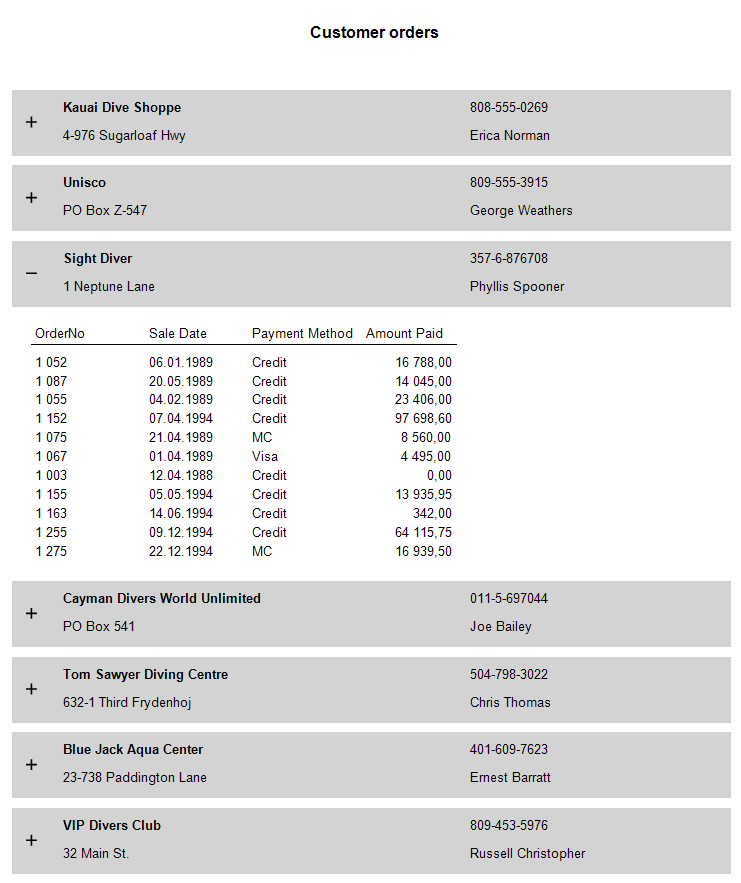
When you click on the minus sign group collapses. Agree, this is very convenient.