A prepared report can be saved to SkyDrive from the FastReport.NET preview. The report can be exported to one of the supported formats before being saved to SkyDrive.
Before saving a report to SkyDrive an application must be created in your SkyDrive account. Do this by going to the SkyDrive home page and clicking "Developers".
In the Development Center click "My Apps" and then click "Create Application".
Enter the name of the application and select a language. Read the "Terms of Use" and "Privacy Statement" and click "I accept".
As a result the next page is the Settings page of the application which shows the "Client ID" and "Client Secret".
Enter the redirection domain and click "Save".
You can now go to the FastReport.NET preview and export the file to SkyDrive by pressing the "Save" button and selecting “SkyDrive...”.
When exporting to SkyDrive for the first time the "Client Information" window will be displayed:
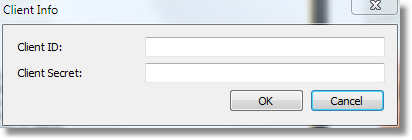
Enter the “Client ID” and “Client Secret” obtained above. After clicking the “OK” button FastReport.NET saves these values and uses them again the next time.
The "Save to SkyDrive" window has two tabs : File and Proxy:
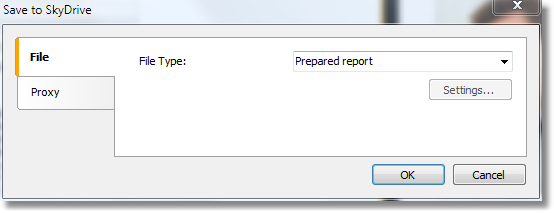
The File tab contains the following fields:
- FTP Server : enter the URL-address of the FTP server
- Username and Password : enter your username and password
- File Type : select the file format (prepared report or one of the export formats) from the drop-down list.
If an export format is selected then the “Settings...” button becomes available, which opens the settings window for the chosen export format.
If a proxy server is used then the URL-address, port, username and password of the proxy server are set on the Proxy tab:
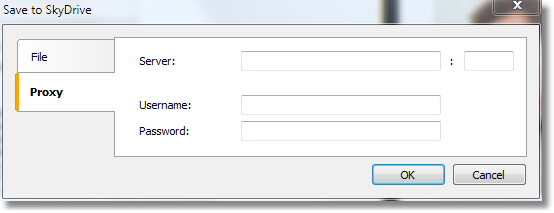
When all settings have been made click the “OK” button to save the file to SkyDrive.